-
Brass hole
Jan 11, 2011
-
7 min read
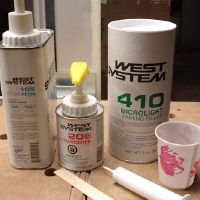 While installing the cupboard latches for the built-ins, I have so far snapped off three screw heads. The first two times were during the dry assembly, before everything was painted or in place, so it wasn’t a big ordeal. This most recent time, however, was after the face frame had been secured in place. Luckily, the experience from the first two times made it easier to come up with a strategy…
 -
Trimming down
Jan 10, 2011
-
2 min read
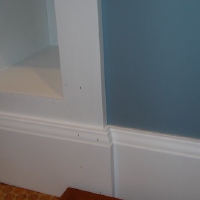 Between the holidays and a top-secret project (more on that soon), it’s been a while since I’ve had any reportable progress. But with the new year, it’s time for progress… and a new post! I’ve spent the past couple of weeks doing more work on the built-ins and trim, and it’s starting to make quite a difference. The first order of business was assembling the face frame for the built-in cabinets under the window.
 -
Making space
Oct 22, 2010
-
4 min read
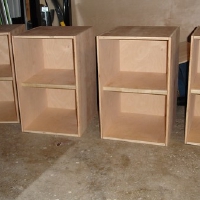 As I mentioned in the previous post, one of the sub-projects for the bathroom is to add some built-in storage. While it is still underway, I figured that it was time for an update. For the past few weeks, I’ve been building the four cabinets that will sit below the window. While they’re all similar in height and depth, they will be installed in existing stud bays which are not evenly spaced, so each one is a different width.
 -
"Functionally complete"
Oct 8, 2010
-
5 min read
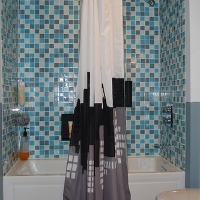 It’s a nice euphemism, “functionally complete,” and it really means that we’re not done yet. But at least it does mean that we can actually use the bathroom now, and have been for the past few weeks. And yes, that means that this post is long overdue. At least I’ve been busy with more exciting things, like working on the built-in cabinetry, and attending a router class at Festool (which was AWESOME).
 -
Reflections
Sep 15, 2010
-
6 min read
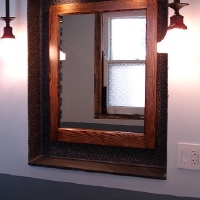 Over the past couple of weeks, I’ve finally had some time to actually put my (relatively) new Festools to use on some actual woodworking. Up until this point, I’ve only had the chance to use them for framing and other rough work around the bathroom. While I ultimately will be using them to make some custom built-ins, I figured that starting with something much simpler would be a good idea. And so, I decided to build a custom mirror frame.
 -
Tile time!
Aug 30, 2010
-
3 min read
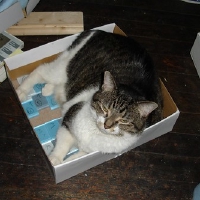 It’s been a month since I last posted an update. I didn’t plan on taking so long, but I wanted to wait until the tile was finished before posting it. There’s been plenty of delays, but now there’s just a little bit of grouting still left to do, and it will be done! Fortunately, we had help The three niches get their own tile treatment… natural pebble tile with a dark grey grout.
 -
Clean slate
Jul 31, 2010
-
3 min read
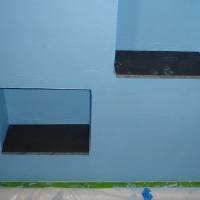 This week has been fairly quiet on updates, since most of the work has been pretty unremarkable. My brother came for a visit on Sunday to help us get started taping and mudding the drywall, and I spent the next few days finishing that off. Once that was satisfactory (not perfect, but good enough), I skim-coated the walls with joint compound, followed by two coats of vapor barrier primer. Since we used moisture-resistant drywall, we had to skip the vapor barrier directly against the insulation and use the special primer instead.
 -
Grrrrrout
Jul 27, 2010
-
5 min read
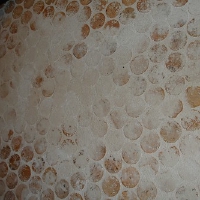 Saturday afternoon, with the recently installed floor tiles sealed the day before, we set about grouting them. Mixing the grout was simple enough, as was spreading it around the floor. Things started to get a little tricky when it came time to remove the excess. Since the tiles aren’t uniform heights, a lot of grout was left behind. No big deal, we thought, that will just come off with a damp sponge.
Software engineer turned MD.
Devout turophile.
Father of Kent (pronouns: dog/bork).