A cantilever Christmas
It started simply enough last September. My brother and I made a surreptitious visit to our parents' house in preparation for Christmas. The idea was to build a simple set of shelves to use some otherwise useless space in their kitchen. Our parents had looked in the past for shelves that would fit, and came up empty-handed. With my recent interest in woodworking (and significant investment in Festools), we thought some custom shelves would be a perfect gift. Nothing too fancy, just something able to store a cordless phone and a few other trinkets.
My thought was to use traditional carcase-style construction to build something that, in essence, was a very narrow bookcase. Shelves held in place by two sides and a back. But after returning home, my brother e-mailed me with his idea, and things got a lot more complicated:
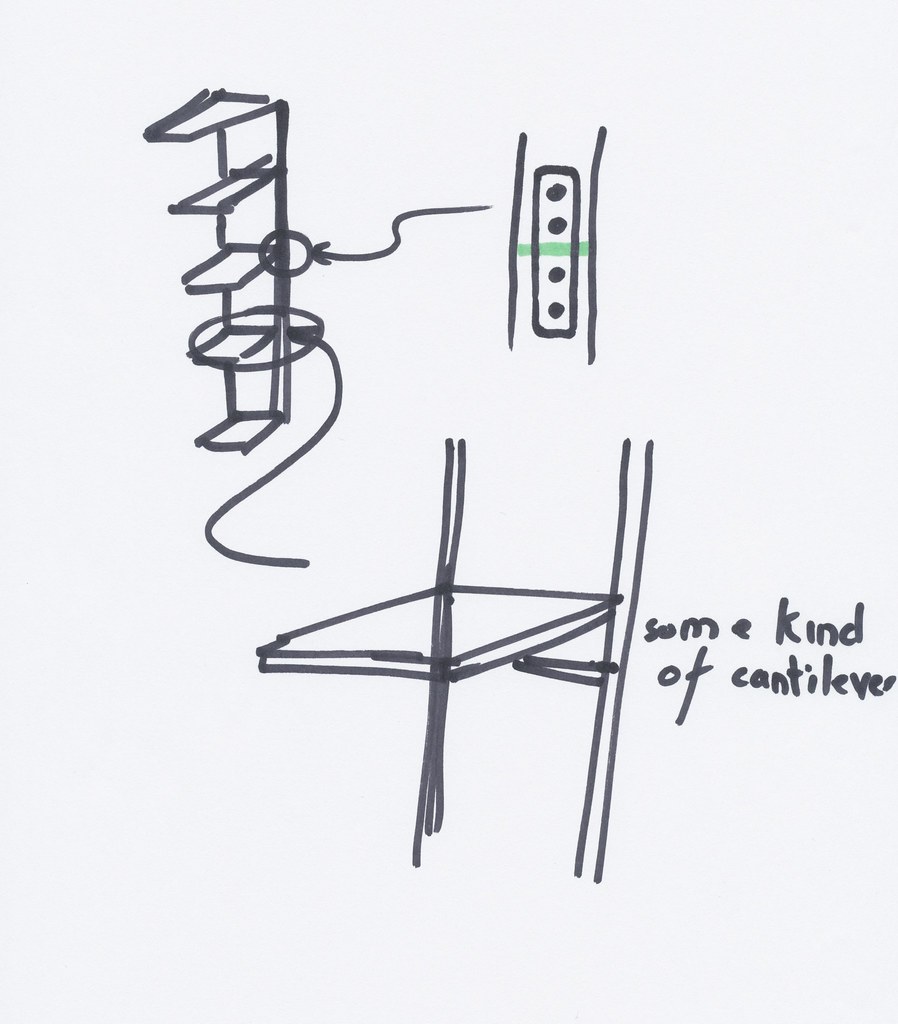
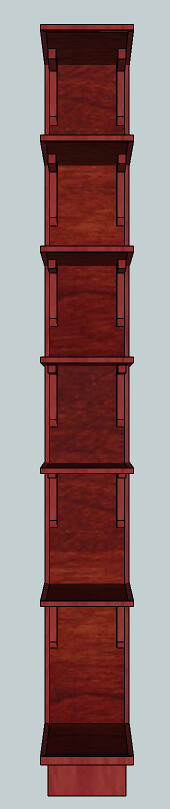
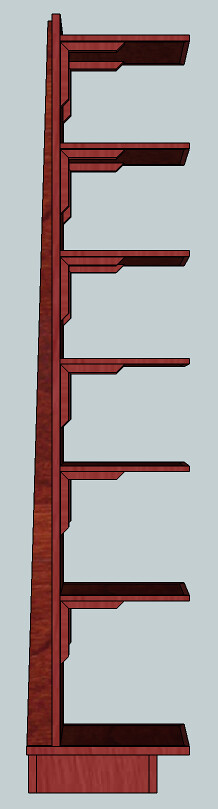
I was initially resistant to the idea, since it wasn’t what I had in mind. But after looking at it for a few days, I warmed up to the suggestion. Part of the plan had been to build the unit in two parts that could be joined together on site, so that it would fit in either of our cars (we both owned Crown Victorias, which lack fold-down rear seats). For simplicity’s sake, I decided to ditch that option in favor of renting a vehicle that would hold the fully assembled shelves. And with that, I put together some more concrete ideas in Google SketchUp. I also took the opportunity to design the unit entirely in metric measurements.


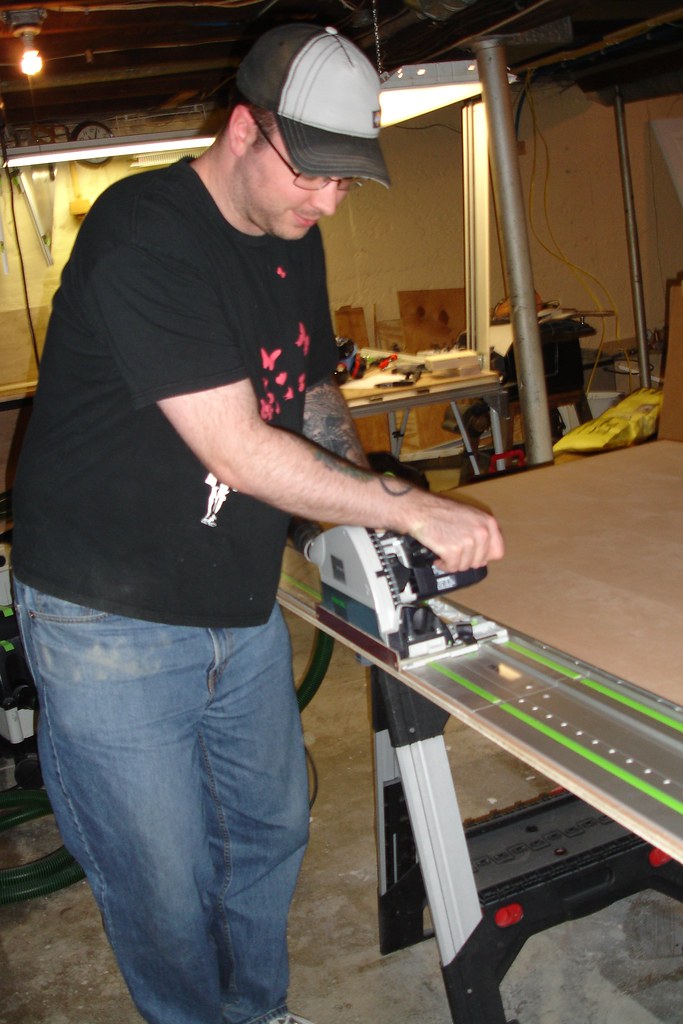
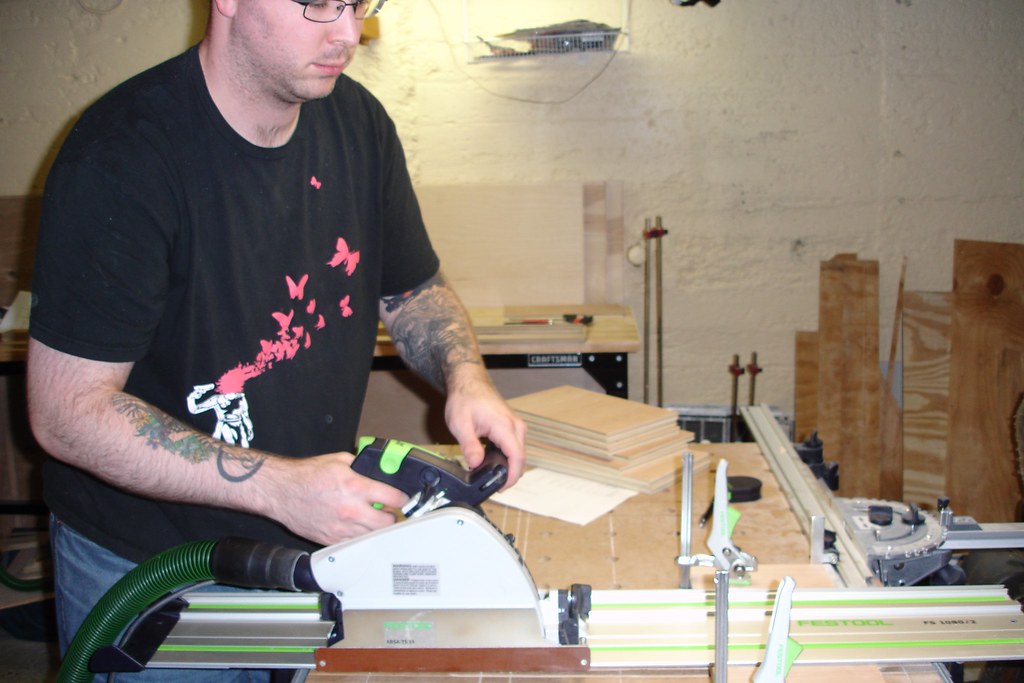
We both liked the design, so with materials in hand, we set about construction. First up the agenda was breaking down the sheet of plywood we had purchased for the project. I let my brother loose to get things cut down to size. Even knowing the accuracy of the TS-55, I was a bit hesitant at first, since my brother has no woodworking experience, but that turned out to be unfounded, and he was soon raving about how nice the Festool saw was.
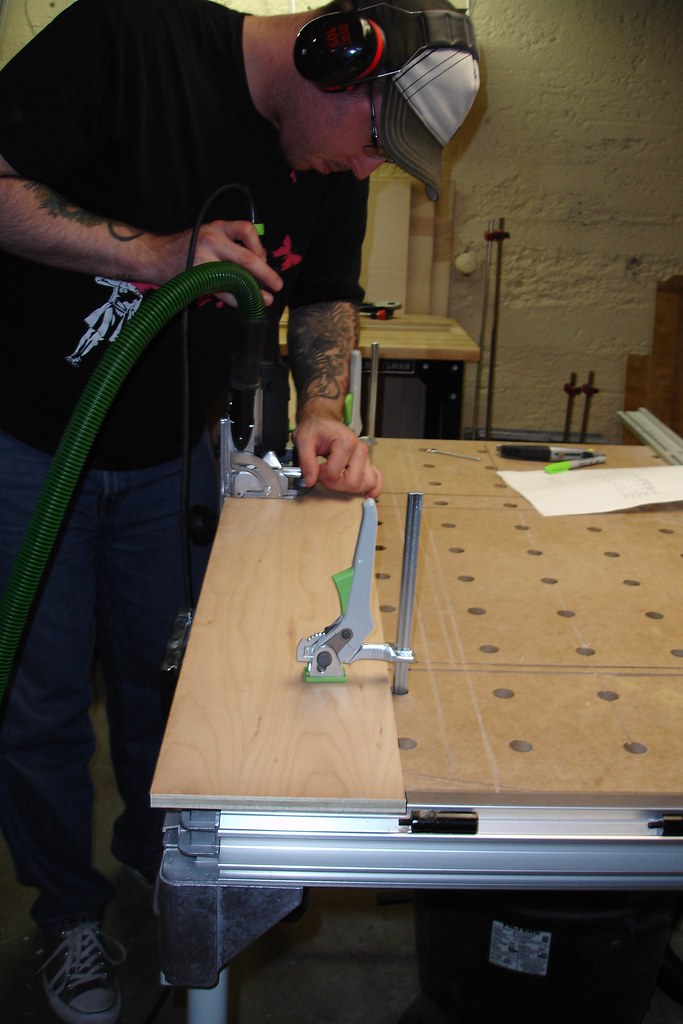
 Once we had our main parts cut down to size, we started measuring and marking for joinery. Since my brother had a limited amount of time to help me out, we decided to focus on getting the back of the unit attached to the two “buttresses”. All of the joinery for this project was done with the Domino (over 200 4mm Dominos were used; 28 on each shelf alone), and I figured this was another opportunity to test out the simplicity of the Festool approach on my brother.
Unfortunately, my brother’s schedule didn’t allow him to stick around to help out further, so I continued on with the joinery. I took the work that he did on the back and buttresses, and attached them, to the base for the unit.


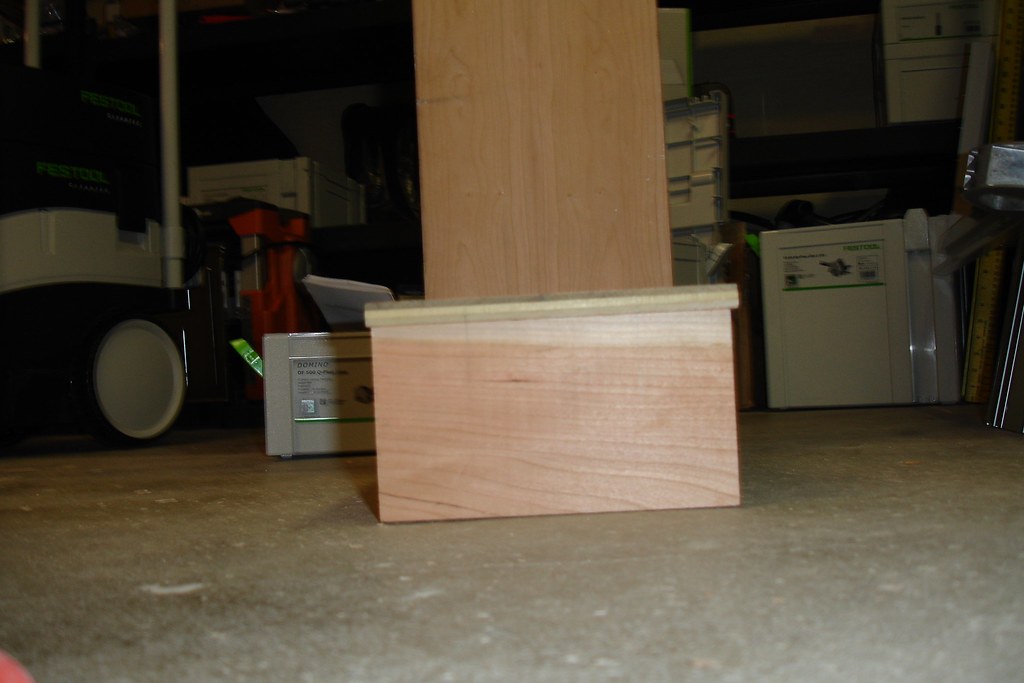
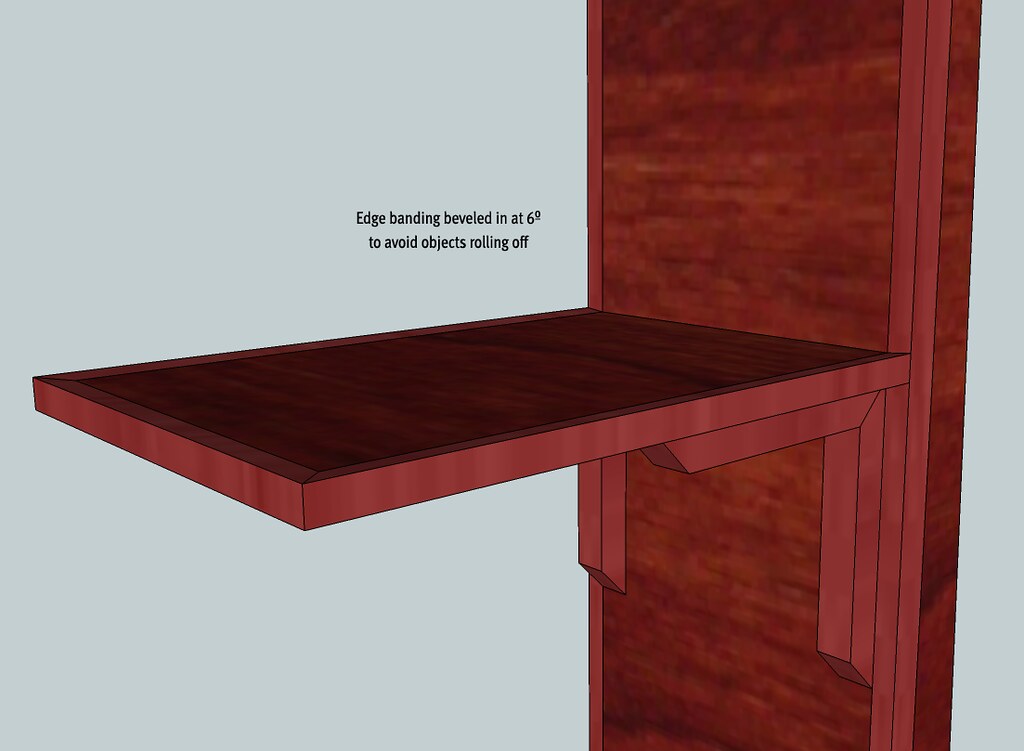
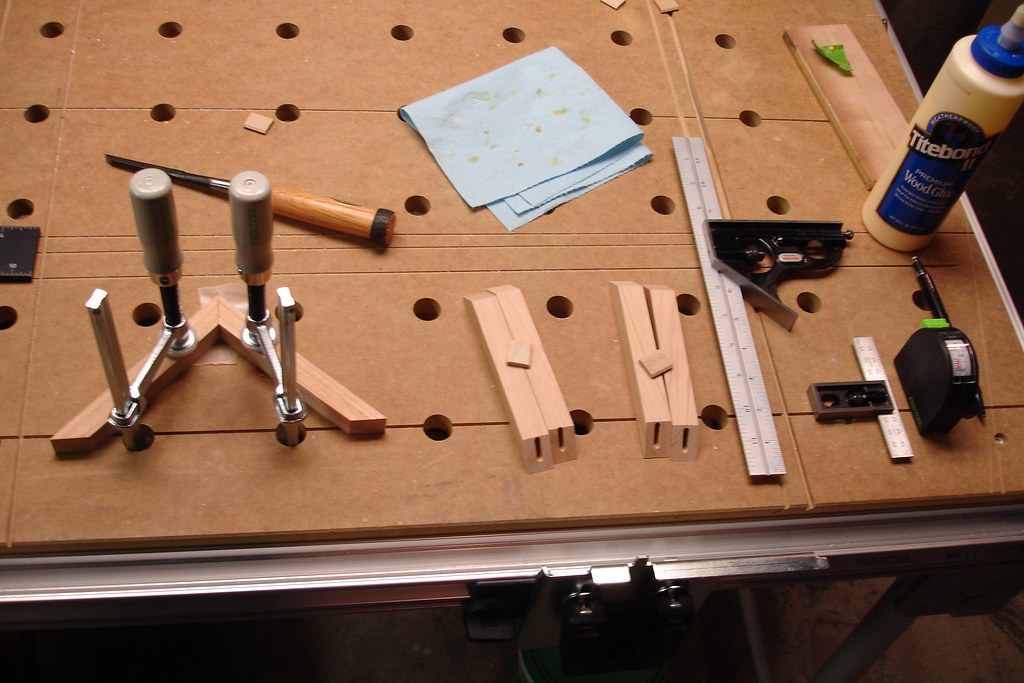
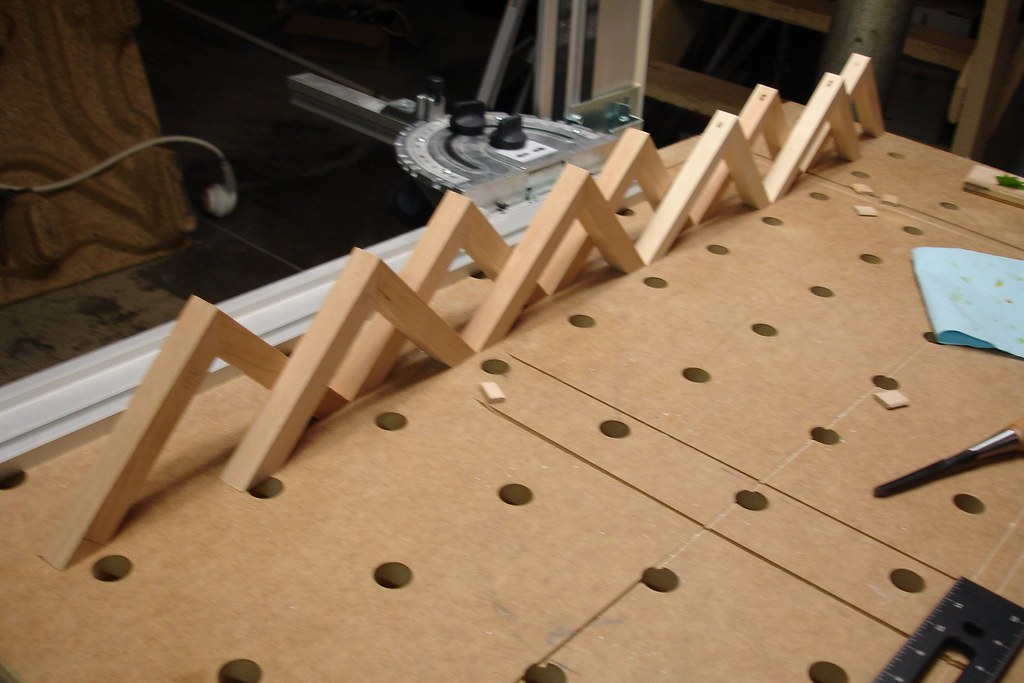
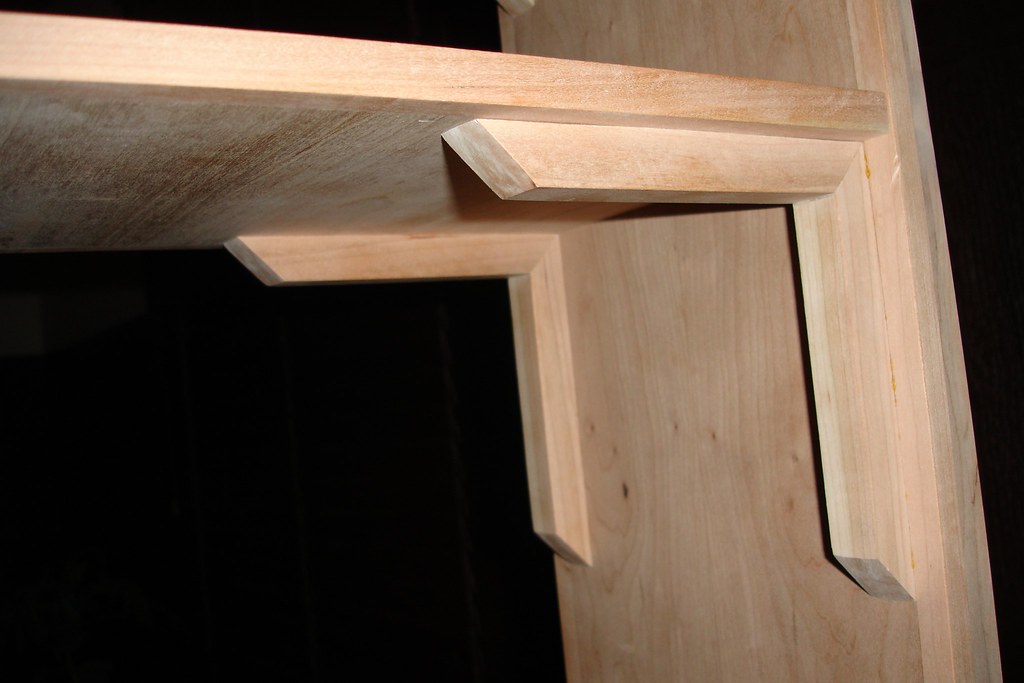
The next step was assembling the solid wood brackets for each of the shelves. They were made by joining two 150mm pieces at a 90º angle to form an L. Thanks to the TS-55 and MFT/3, getting the pieces cut down to size wasn’t too difficult, but getting the Domino mortise slots cut was a bit tricky. After some experimentation, I ended up using some scrap materials to put together a jig that allowed me to clamp each half of the shelf bracket in place, providing extra support for the Domino’s fence. With each half of the brackets mortised, I then set about getting them glued together.

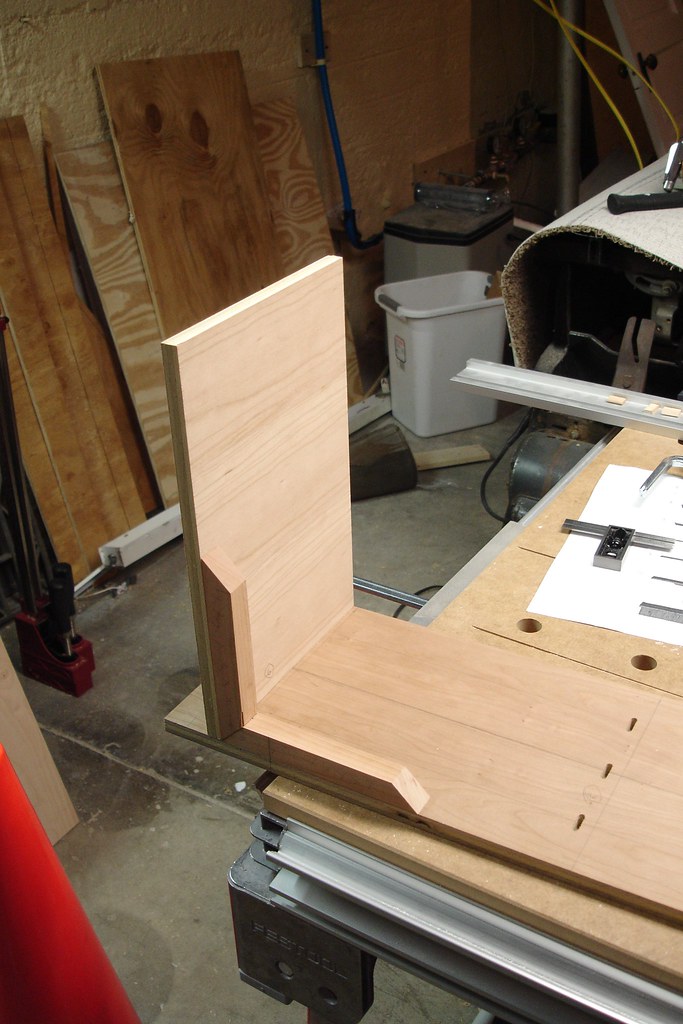
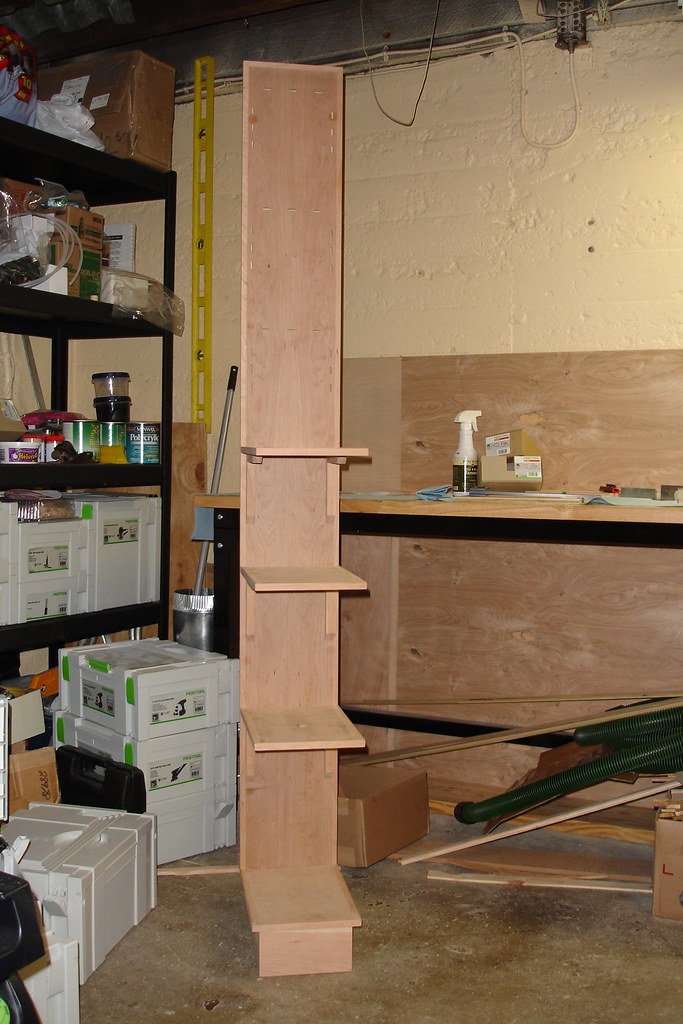
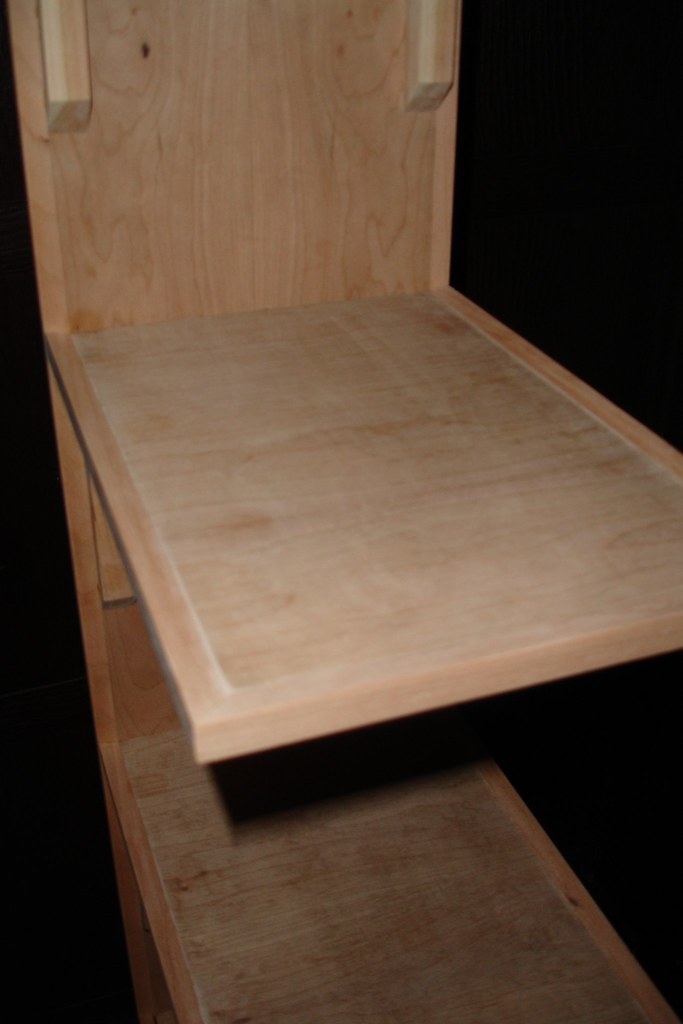
With the brackets assembled, I set about attaching the individual shelves to the back assembly. I decided to start out by mortising the shelf pieces directly into the back. That way, I could install each shelf in its final position, and then mark the actual mortise positions for the brackets, rather than trying to correctly calculate and measure the mortises for each shelf. With all the shelf mortises cut, it was quick work cutting mortises for each of the brackets, followed by a dry assembly to make sure everything was going together properly.

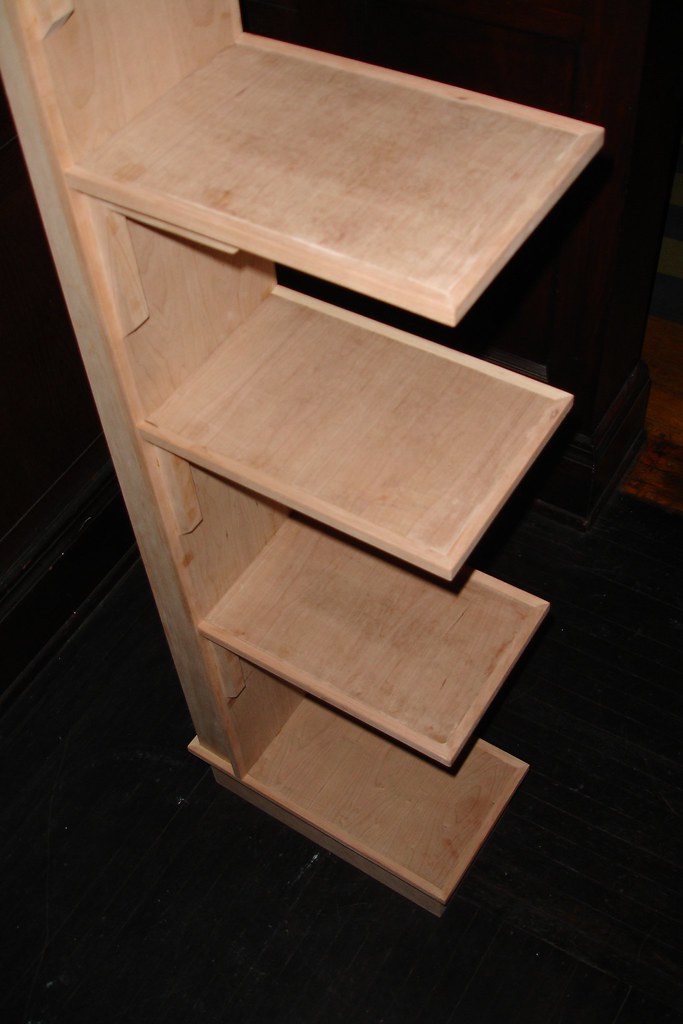
Next up was attaching edge banding to all of the exposed plywood edges. Most of it was fairly straightforward, using the MFK-700 with the 1.5º base. For the top sides of the shelves, I ended up using a 12º dovetail bit, for a final angle around 10.5º. It took a bit of trial-and-error to get the MFK dialed in, but with the repeatability of the micro-adjust, it was a fairly quick process.
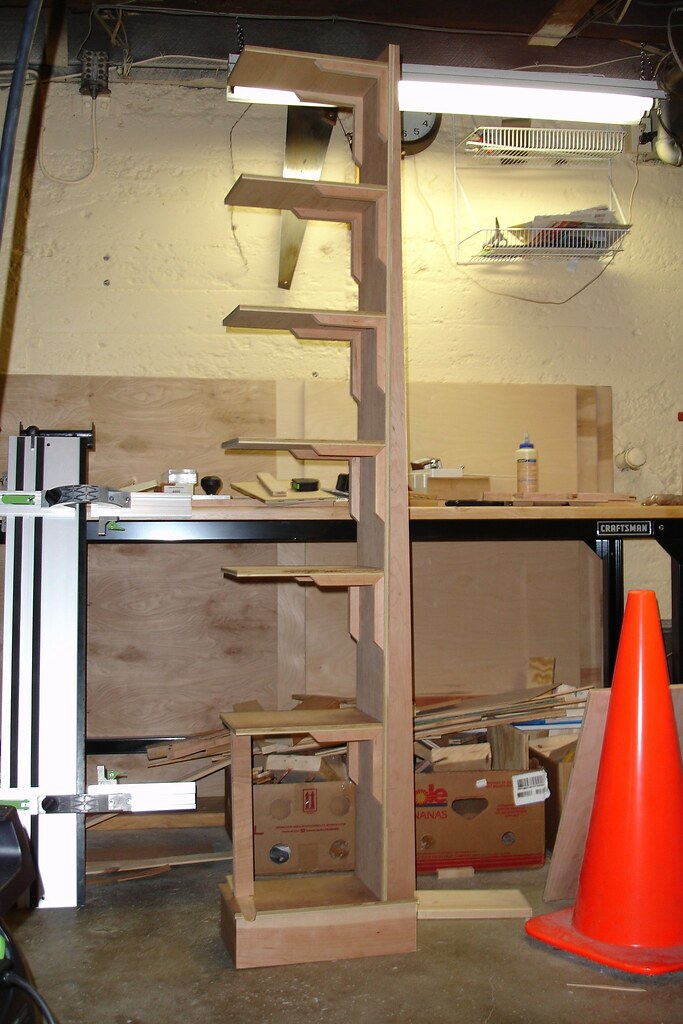
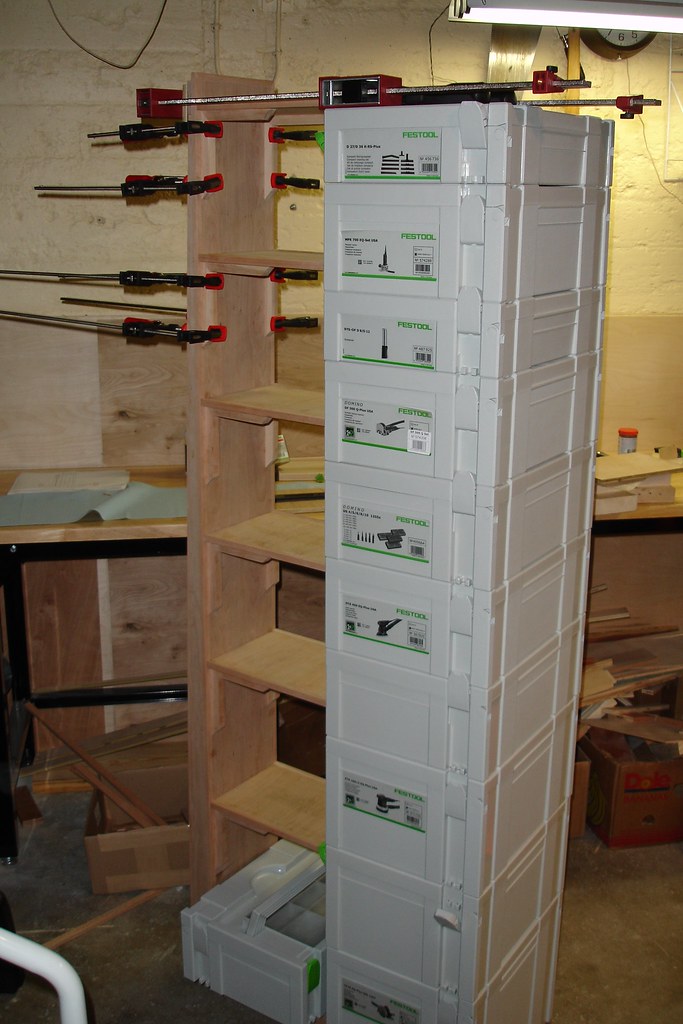
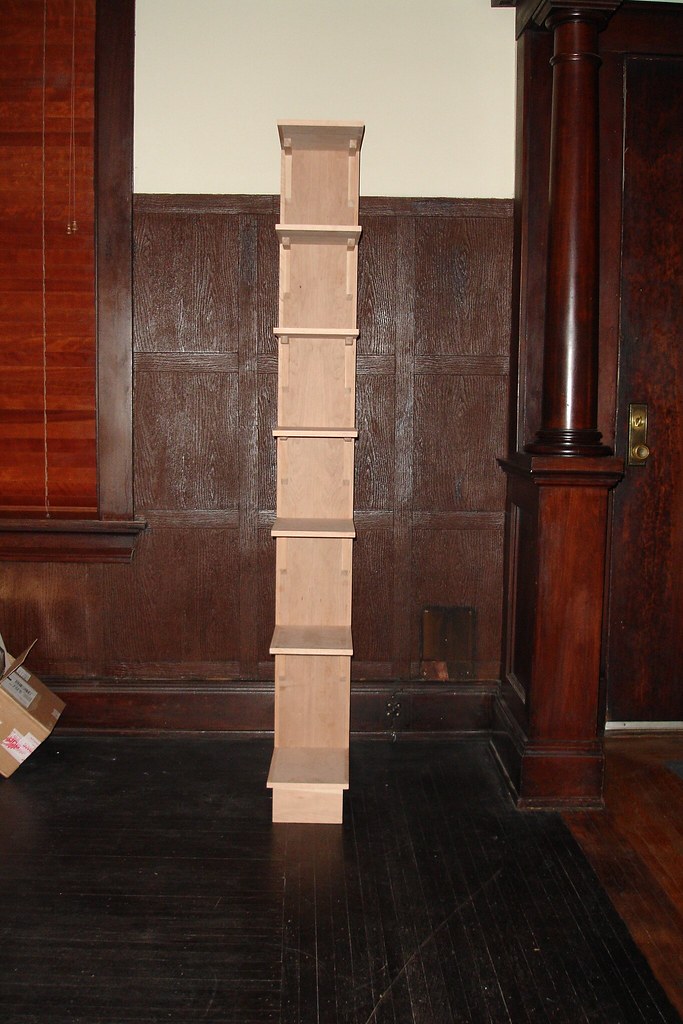
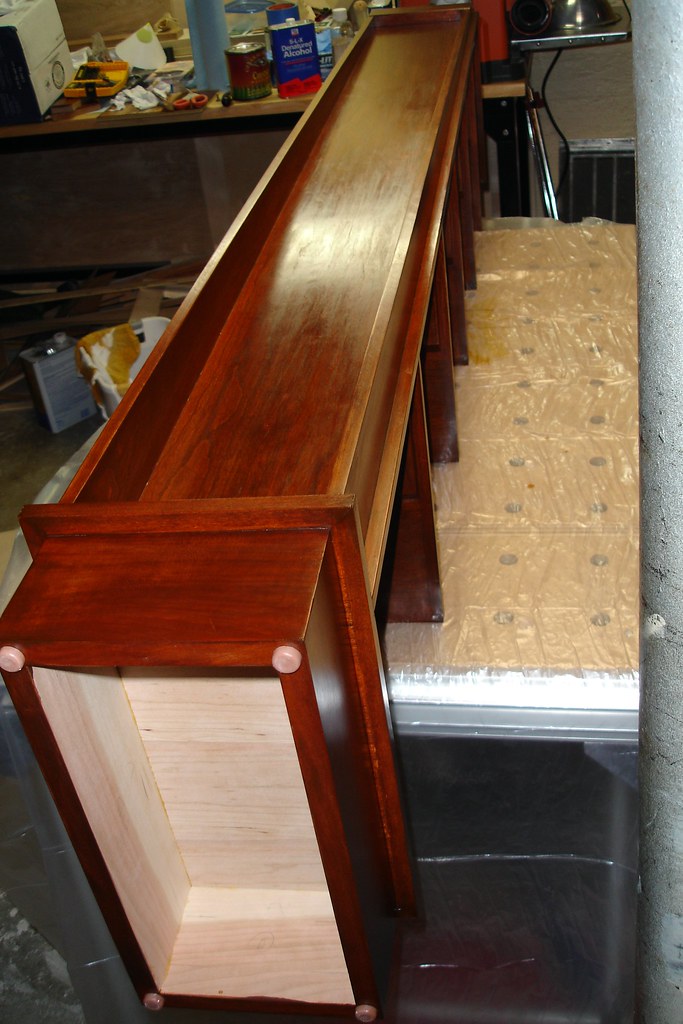
With everything cut down to size, it was time to start gluing things together. The trickiest part of this process was keeping everything upright against the weight of the clamps. Luckily, the system approach came through, using Systainers to prop everything up.

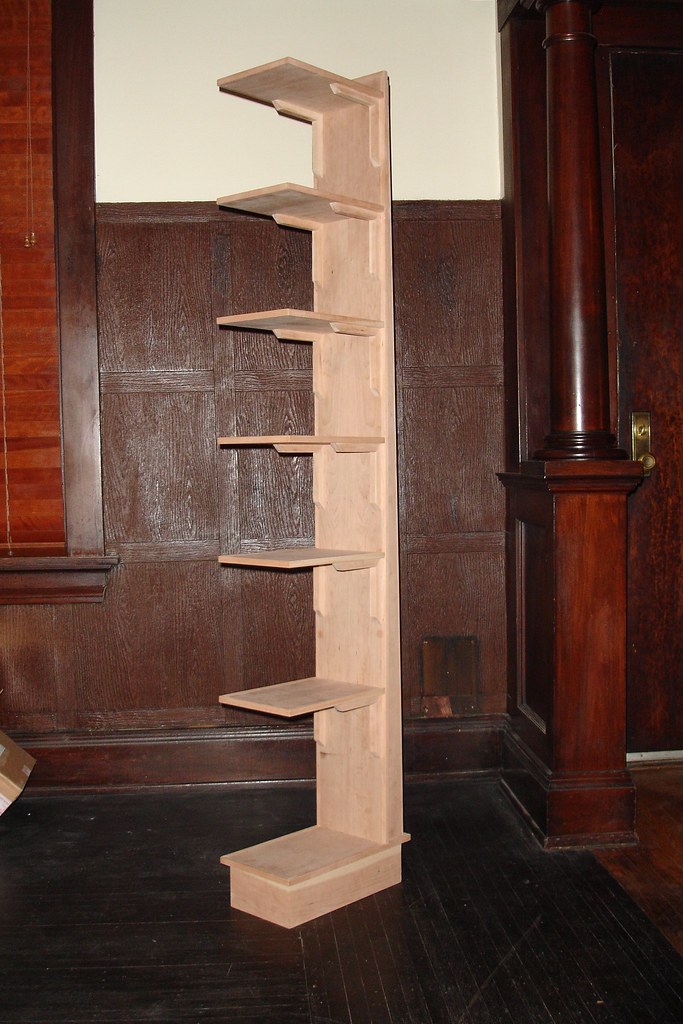
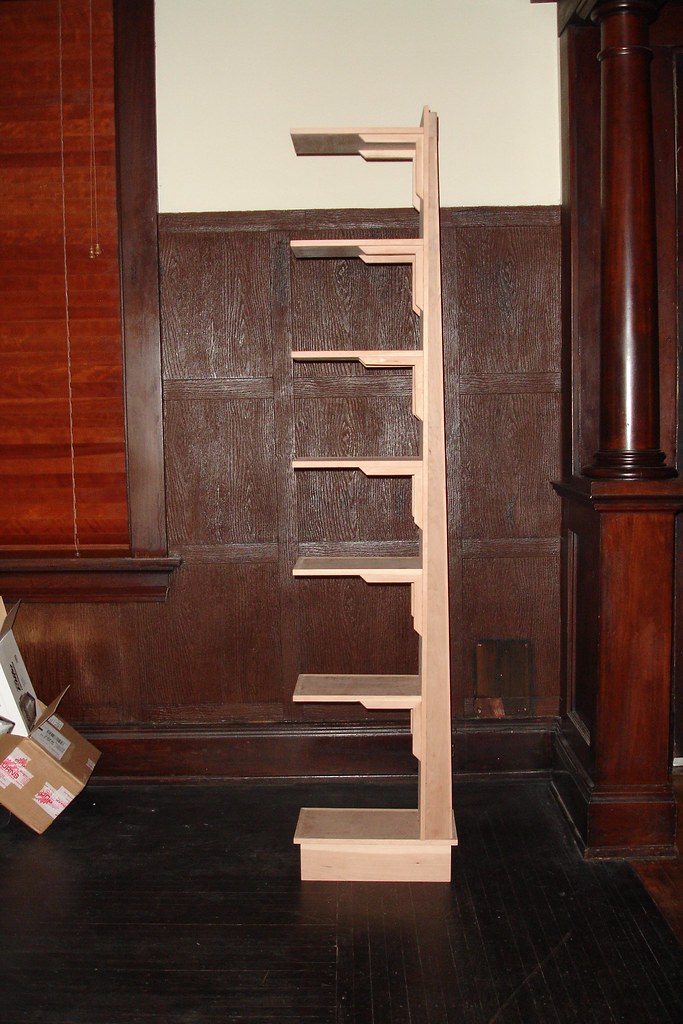
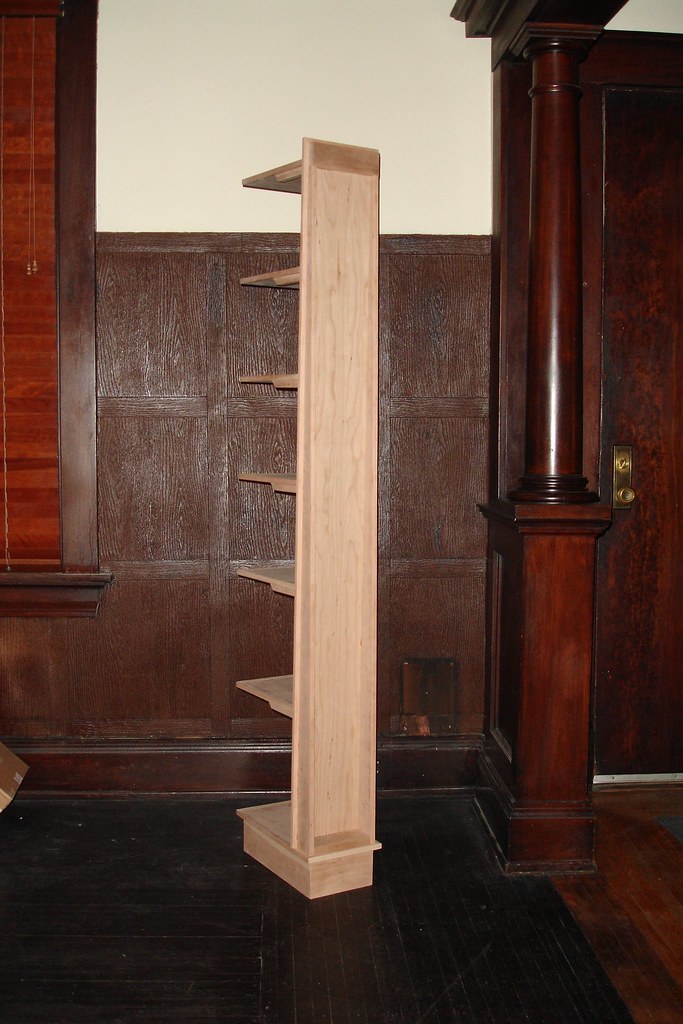
With all of the shelves and edge banding glued into place, I could finally get a sense for the look and scale of the project, and just how well it compared to the design.
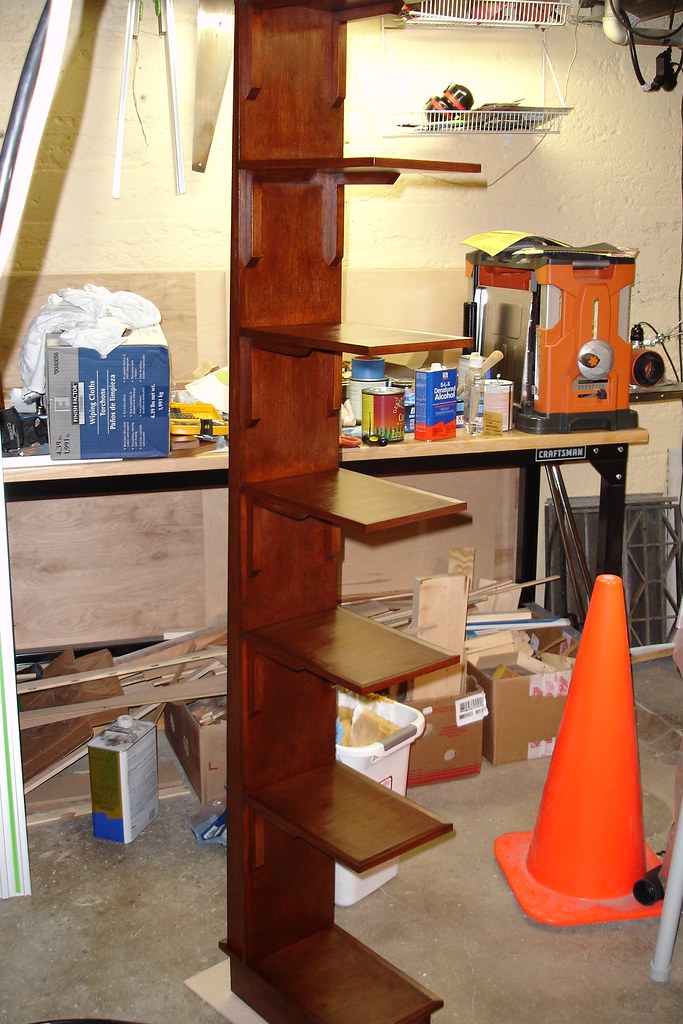
With everything glued together, the next (and most important) part of the project was finishing. Fortunately, I had done the bulk of the sanding before all of the glue-up, so there was only a bit of touch-up and final sanding to do before finishing. I also used some scrap material to do some tests of various finishes, and my brother and I ultimately decided on using shellac for the final finish, with some stains providing the color. I wasn’t too excited about the idea of staining this piece, but we were trying to do our best to match existing cabinetry our parents' kitchen, so that was all part of the challenge. The cabinets were finished with a “Cherry with chestnut stain” finish, so we used that as our cue. The finishing process started off with a coat of shellac, followed by cherry stain, another coat of chestnut stain, then several coats of shellac for durability. Since the shelves likely won’t be used frequently, durability wasn’t the ultimate concern, and the quick dry time of shellac made it ideal.

For a little extra protection (and renewability), I decided to give the finished shelves a coat of paste wax. After bringing them upstairs to get a good view of them in natural light, I started to have second thoughts about giving them away as a gift.

I did manage to part with them, so after packing them up for the trip, my brother and I drove them up to our parents' house, and “hid” them in their basement until Christmas morning. Santa wasn’t able to fit them underneath the tree, so the shelves were just sitting on the living room floor waiting to be unwrapped. I didn’t notice it at the time, but both of our parents immediately started inspecting the finish and joinery.


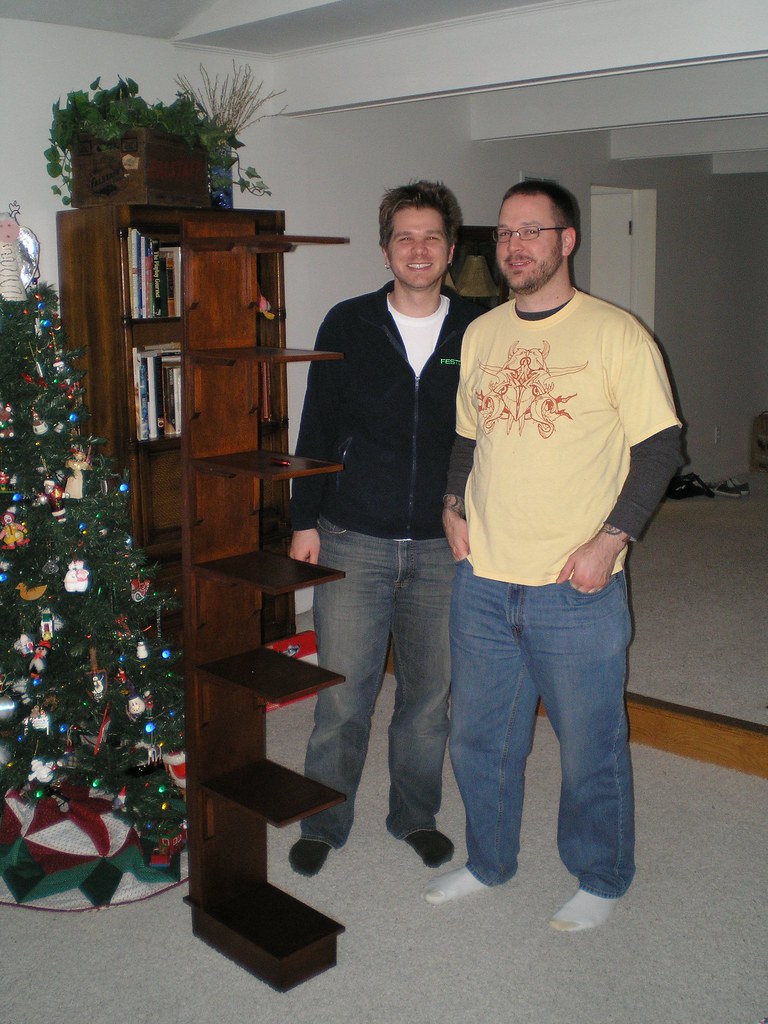
Of course, being Christmas, the craftsmen were required to pose with their creation. And yes, that’s a Festool fleece keeping me warm.

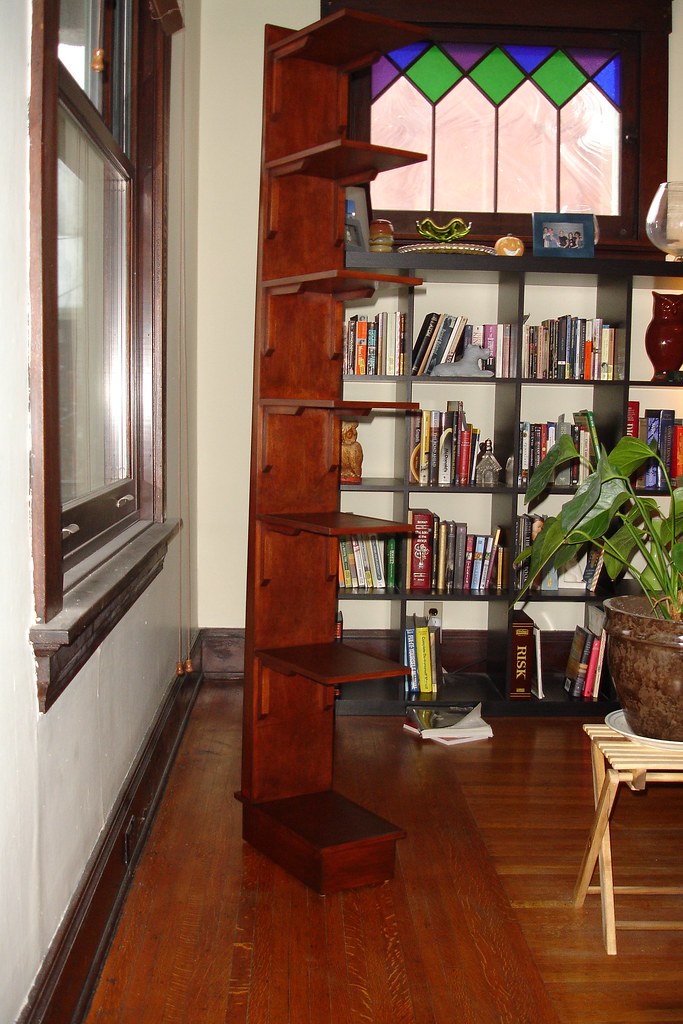
With all of the hard work and celebrations over, it was time for the shelves to assume their ultimate role of keeping stuff off the floor. Unfortunately, a lot of the joinery and the shape of the piece are lost in its home, but that was to be expected.

I ended up liking the style and shape of the piece enough that I’m tempted to build one for myself. Though if I did, there’s a few things I’d do differently…
- We ordered 1/2" plywood, based on the original plan of building a carcase and the idea of maximizing space. With this design, 3/4" plywood would have been no problem, and would have provided more strength/rigidity.
- The design of the unit ended up being a bit top-heavy with a tendency to tip side-to-side, owing to the narrowness of the base. Since it’s living in such a restricted space, that wasn’t an issue. If I were building a free-standing unit, I’d definitely want to make it wider.
- The attachment of the back/buttresses to the base proved to be a bit weak, and had to be reinforced. If I were building it again, I would have extended the buttresses down so that they could attach to the sides of the base, providing a lot more strength.
- Most importantly: The build process taught me a lot about the strengths and weaknesses of the design. Assuming conditions allow for it, I’d like to build a prototype the next time I tackle a design with so many unknowns.