Just four walls
This past weekend, my brother graciously offered to help us install drywall for the bathroom. Since that meant that we’d no longer have access to any of the plumbing in the walls, it meant that it was time to test the radiant tubing to make sure everything was in tact and not leaking. I spent the better part of Friday trying to get the tubing to hold pressurized air, but it would not. After tightening all of the fittings in my pressure test rig, and using some soapy water to check for leaks, I was frustrated.
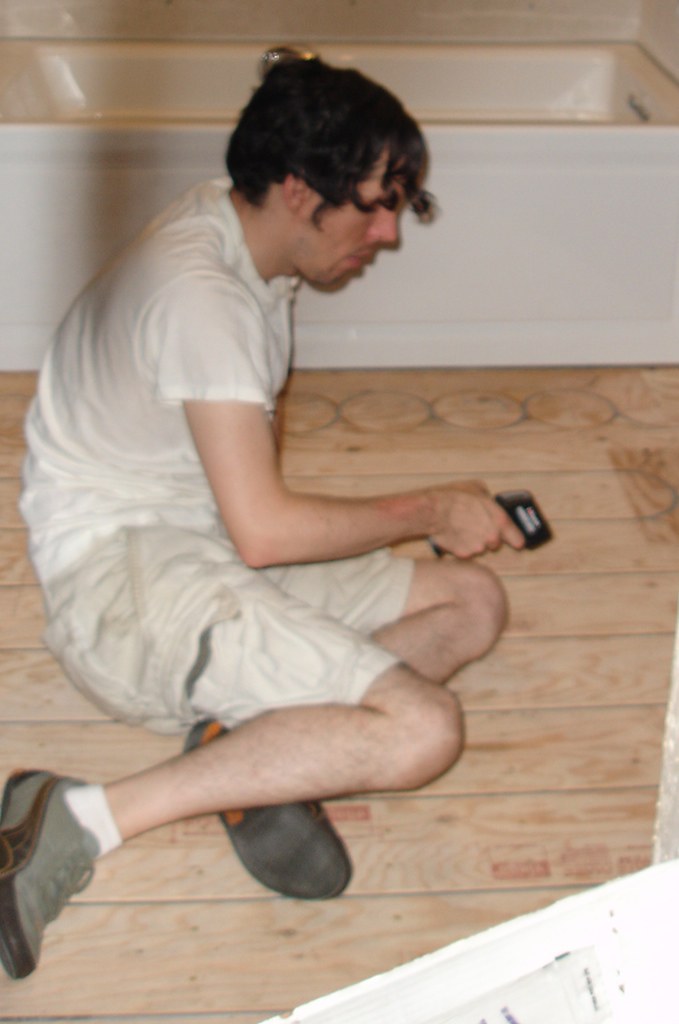
I decided that the only way to really figure out what was leaking was to go ahead and fill the tubing with water. So I went ahead and hooked up one end to a temporary water supply, and set the other end in the laundry sink to drain. I also added a valve on that end, so I could close it off and let the tube pressurize with water. With that, I discovered my leak; one of the compression fittings wasn’t made right (by me), and was leaking water at a fairly decent rate. Though I was sure that was the only leak, we went ahead and inspected the rest of the tube, just to be safe. And since this is a heated floor, we were naturally using hot water, so Brad couldn’t resist checking the temperature…
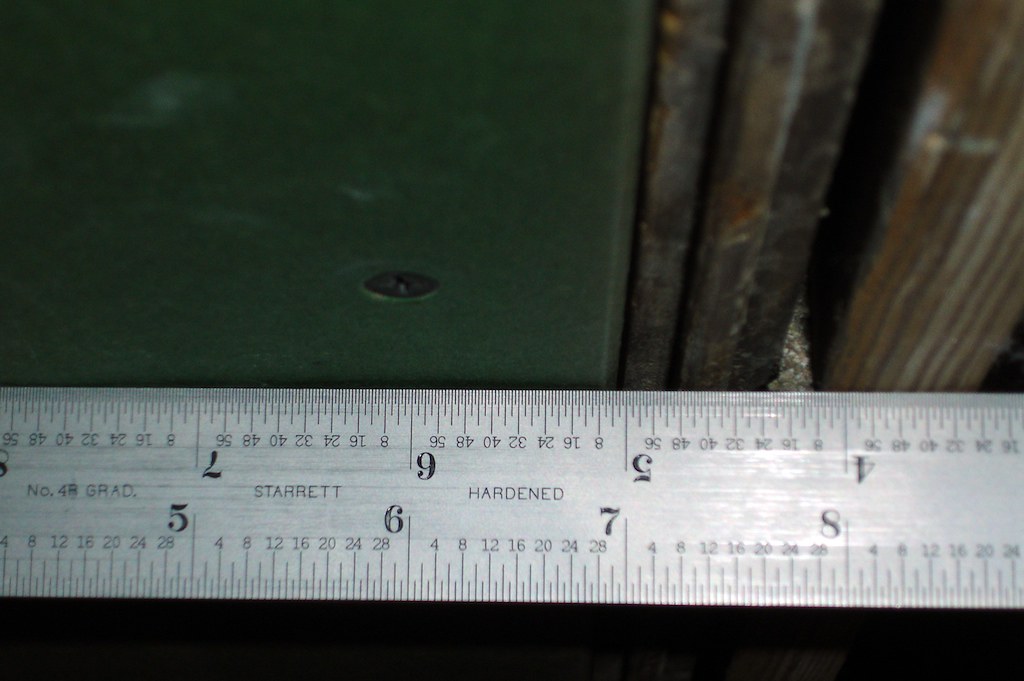
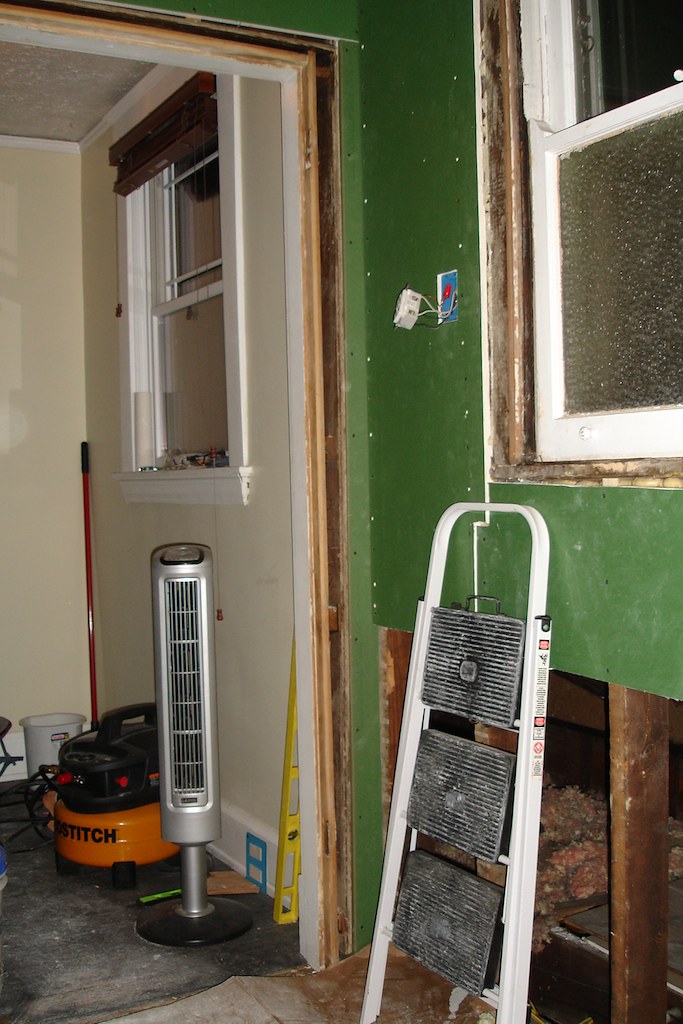
Saturday morning, we started working on the drywall. One of the big challenges was that the bathroom walls, like those in the rest of the house, were originally plaster and lath. While the rest are still in tact, a previous owner had removed the plaster and lath from the bathroom and replaced it with drywall. This is all fine and dandy, except that drywall is significantly thinner than finished plaster and lath, and they made no attempt to compensate for this. So behind every piece of window and door trim in the bathroom, there was a significant (sometimes as much as one inch) gap.
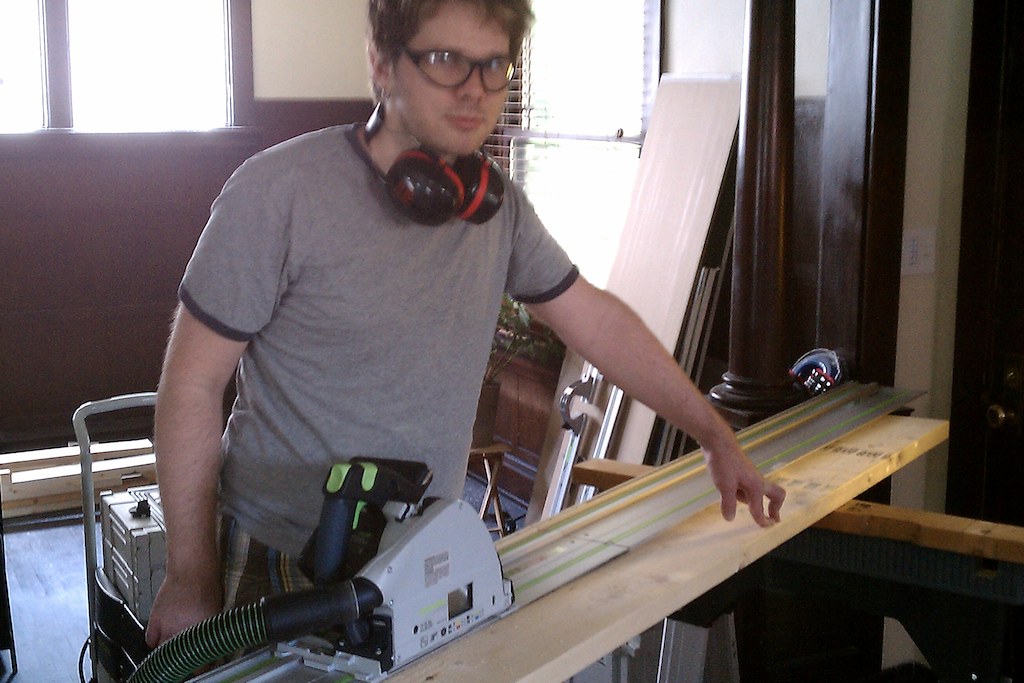
With as much effort as we’ve put into the bathroom already, I was not willing to do something so glaringly sloppy. So that meant taking measurements on all sides of the window and door openings, and cutting individual furring strips for each one. At first, I thought this would be a massive pain, but it turned out to not be so bad. My circular saw rides on a guide rail that makes it blindingly simple to line up a cut exactly. So we just made one mark at each end of a 2 x 6 for the necessary thickness of each furring strip, and cut along the lines.
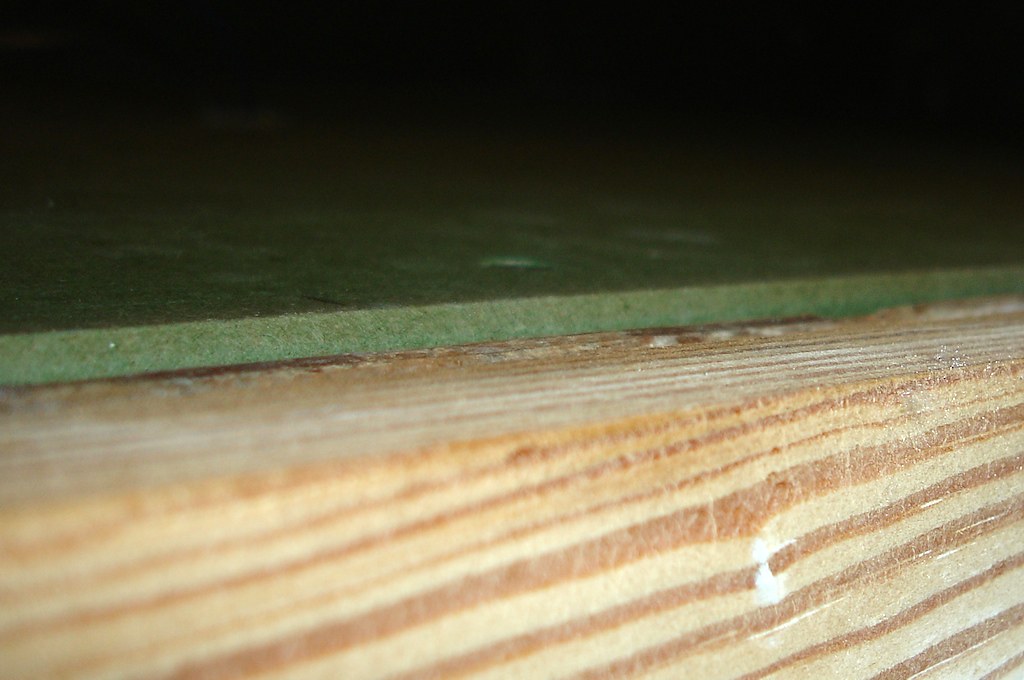
It was definitely worth the effort! It’s tough to photograph with my simple camera, but the face of the drywall and the edge of the door and window jambs are nearly perfectly in line. While not the most important detail by far, it will definitely improve the finish level over the previous bathroom by a long shot.
I also had to add a few bits of blocking, to support the drywall at the edge of the opening for one of the planned built-ins. A scrap piece of lumber and the framing nailer took care of that in no time.

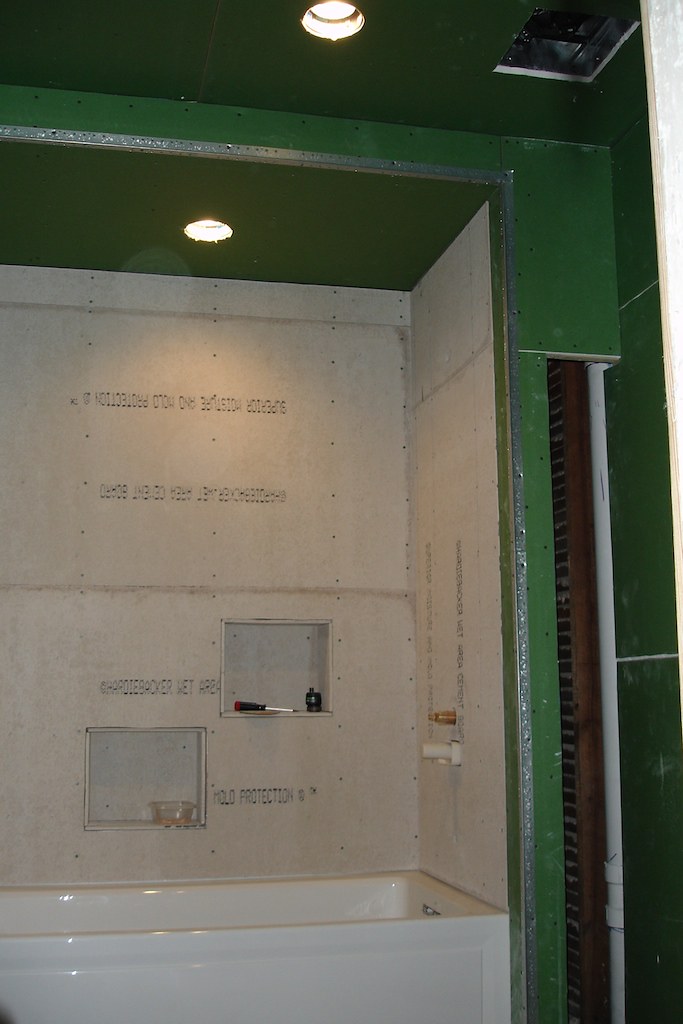
With blocking and furring in place, it was time to start cutting and installing the drywall. One of the very annoying aspects about a room as small as this bathroom (around 58 sq. ft.) is that no wall is large enough to accommodate a full sheet of drywall. There is never a reprieve from cutting, fitting, and trimming sheets, and that gets old fast. But we did manage to get the two most difficult walls out of the way - the door wall, and the “wet” wall, which includes the mirror niche.

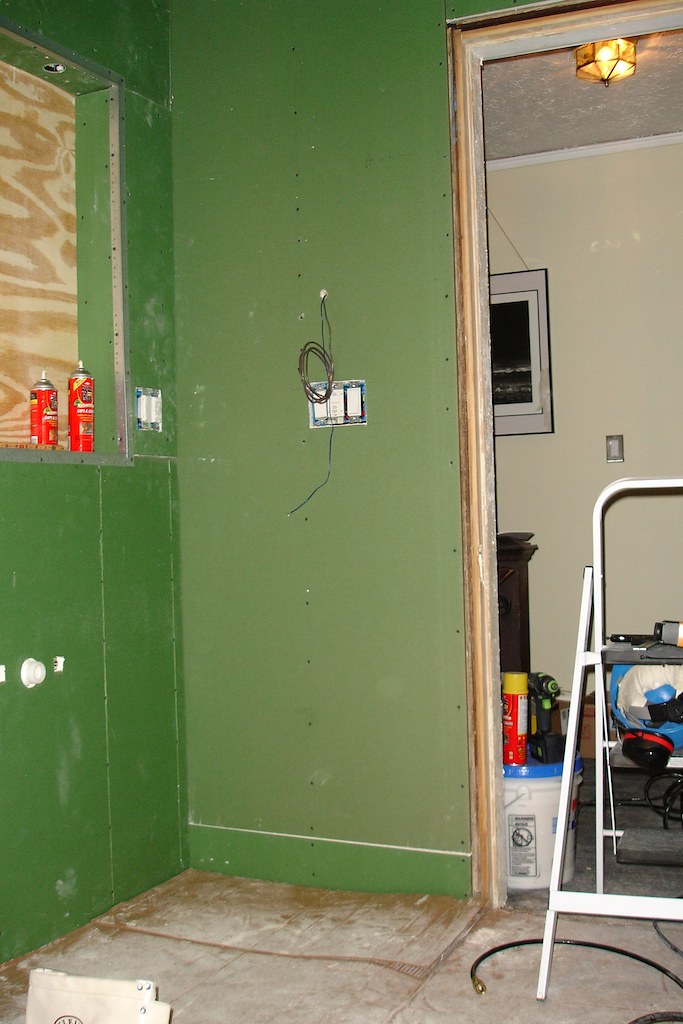
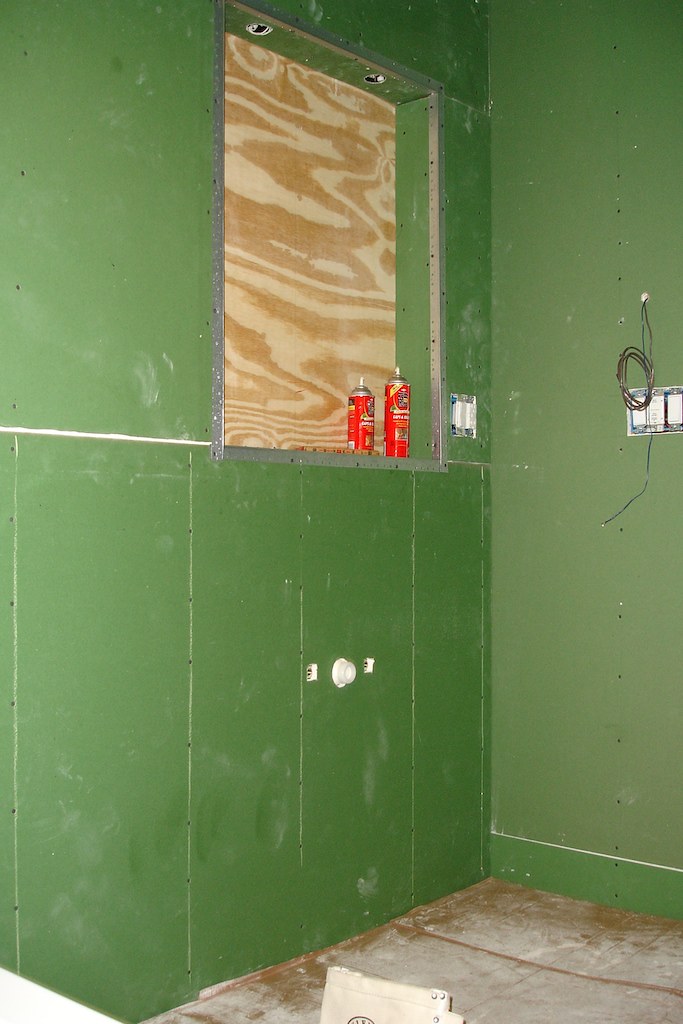
Those few sheets of drywall really go a long way toward turning it back into a real room! It was definitely exciting to see the mirror niche really start to take shape; up until this point, it’s just been a skeleton of excessive framing.
By Sunday, we were quite worn out, and the pace definitely slowed down. We decided to work on nothing more than the remaining furring strips, leaving the rest of the drywall installation for me and Brad to complete without my brother’s wonderful assistance. This evening, we did just that.
The two areas without drywall (one behind the shower and the other below the window) will be the future home of some custom built-in storage. During the planning phases, we had a difficult time finding any medicine cabinets that we liked that didn’t cost a small fortune. The compromise solution was to abandon that altogether, and go with a fixed mirror in a niche, with the built-ins making up for the lack of storage. But that will be another project for another day, once the main renovation is complete.