Come on in, the water's fine!
This afternoon, half of my order of tubing supports came in, which meant that I was able to work again on the plumbing. It didn’t take me too long to get the tub/shower lines routed and connect in the basement, which meant… testing! Since there was finally water to the shower fixtures, I could test both that plumbing work, and the tub and drain. So with a bit of trepidation, I started with filling up the tub…
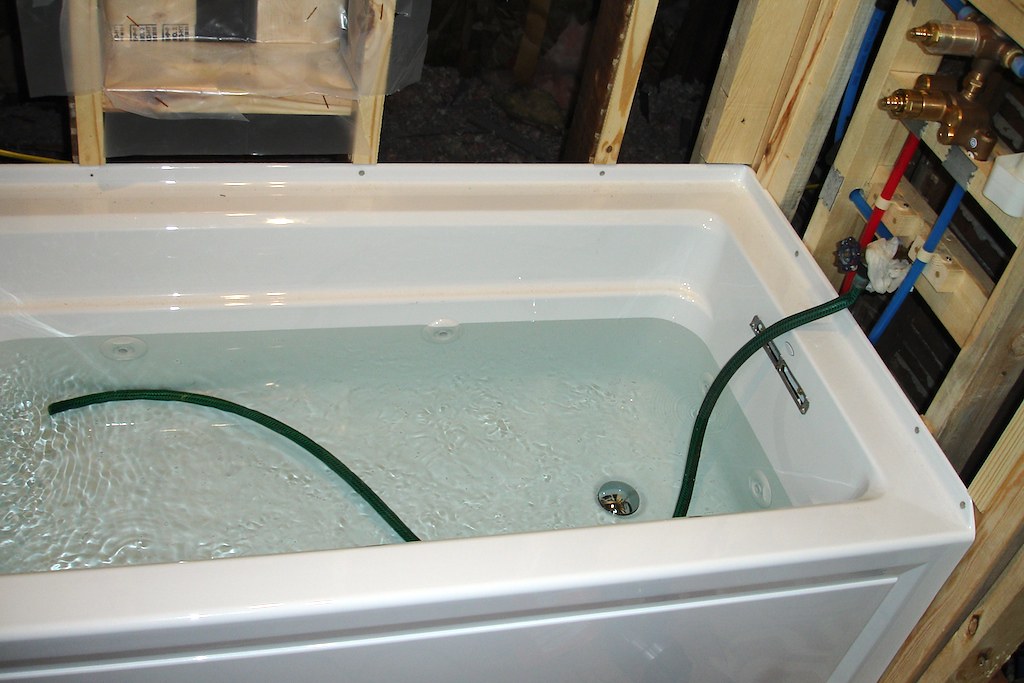
You may notice that I’m using a garden hose, instead of the traditional tub filler. I happen to have an extra hose spigot lying around, so I just threaded that into the drop ell connection for the tub filler, instead of temporarily installing the nice, expensive shower trim. And it worked! The only leak was because I skimped on thread sealant for the spigot, since it was a temporary installation. The rest of the plumbing performed flawlessly, including the tub drain and overflow.
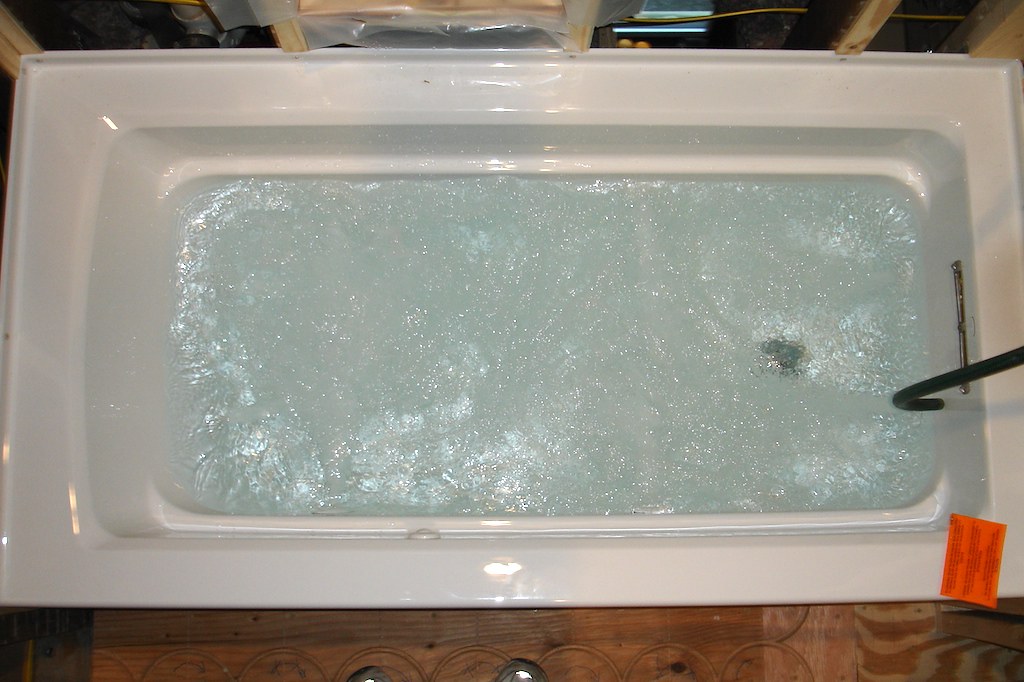
The next test was to fire up the whirlpool pump and make sure it was working okay, without leaks. The pump motor will soon get its own dedicated circuit, but in the interest of getting the testing done, I made a temporary electrical connection for it in the basement (I spliced a plug onto the end of the wires and plugged it in). With my trusty outlet tester, I verified that the wiring was correct and did a quick test of the GFCI module before plugging in the pump motor. Everything was in order, so I plugged the pump in and hit the reset button on the GFCI. Nothing. I plugged the outlet tester back in; dead, and the GFCI still wouldn’t reset. I rechecked my wiring, both at the GFCI and in the basement. Everything was correct. I happen to have a spare GFCI receptacle in my toolbox, so I pulled out the GFCI module, and wired the GFCI receptacle in its place. Victory!
Eight massaging jets
Now I’ll have to get a replacement GFCI module, so I can replace the faulty one and get everything hooked up properly again. But at least I know the tub works! And with that knowledge, we were able to start really addressing the tub surround.
Yesterday, Brad and I spent quite a bit of time marking, measuring, carrying, cutting, and test-fitting the piece of cement board that will have the two niche cutouts in it. It probably would have been easier to piece the layout together from many smaller pieces, but I’d like to keep the number of seams down, since that’s less chance for failure. With the tub tested, we were able to proceed with installing insulation and a vapor barrier around the tub/shower area, and finally, our first piece of cement board!


Note the fine selection of toiletries
They say the first piece always takes the longest to install, and that one definitely had the most cuts. We’ll still have a few cuts to make for the shower hardware, but nothing nearly as involved (or precise). With any luck, we’ll be done with that tomorrow night, and can move on to installing the rest of the drywall. Good times!