Honing in
I’m pleased to report that the second of my shop projects is nearing completion. I use water stones for sharpening my chisels and plane blades, and it’s something that I haven’t really enjoyed. Since the stones require a good source of water, both for lubrication and cleaning, I always wound up doing my sharpening in or near the kitchen. That, of course, meant having to clear up enough counter space to work efficiently, be careful about how much of a mess I made, and then put everything back when I was done. It was enough of a hassle that I had been putting off sharpening my chisels and planes, despite them being frustratingly dull.
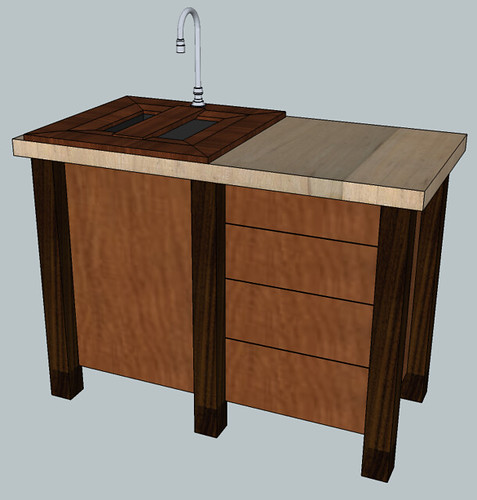
That is all in the past, as I have put together a dedicated sharpening station. My inspiration for this came from William Ng’s setup, which I saw in this video from The Wood Whisperer: Scraper Sharpening w/ William Ng. I liked the idea of a having a basin to keep the stones wet, and using a stone holder directly over the basin to make flushing the stones easier. From what I understand, his is built over a standard restaurant bus bin, with an aquarium pump driving the faucet.

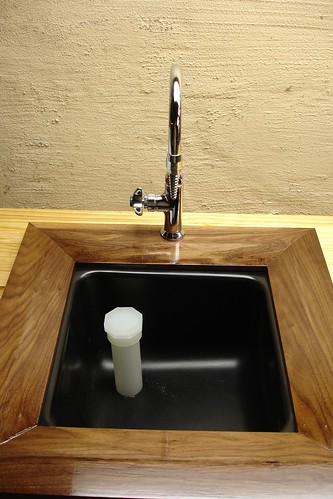
My plan was to expand on this idea, making a dedicated station, rather than a bench-top unit. This way, I have the option of using a sink and faucet, and plumbing them both in, which will make cleaning up loads easier. Finding the right sink, though, proved to be a bit more difficult than I’d imagined. Apparently, most small, square sinks are considered a specialty item (think wet bars), and carry a very high price tag. I finally found a 12" square laboratory sink at Grainger, which offered the perfect excuse to use a laboratory faucet, too. A little bit of time in Sketchup gave me a pretty good idea of what the finished project would look like.
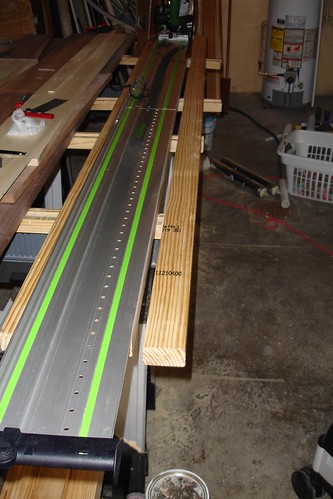
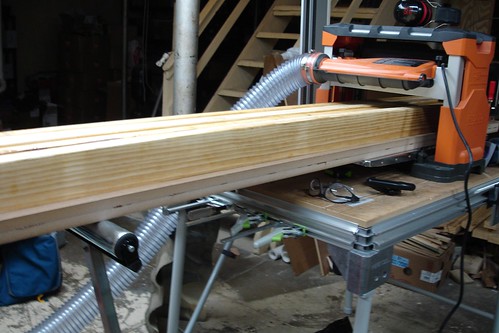
I actually got started on this project back in April, laminating some cheap lumber together for the top. I used some 2x12 pine boards from the home center, ripping them down into 2x3s. I did this mainly because 2x12 boards are normally used for floor joists, so they need to be relatively straight and stable. The pre-dimensioned 2x3 lumber available around here is also pre-twisted, making it really hard to make anything other than abstract art.

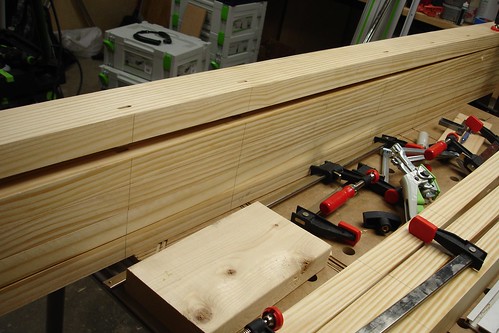
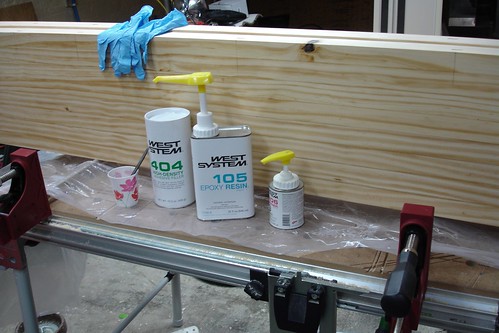
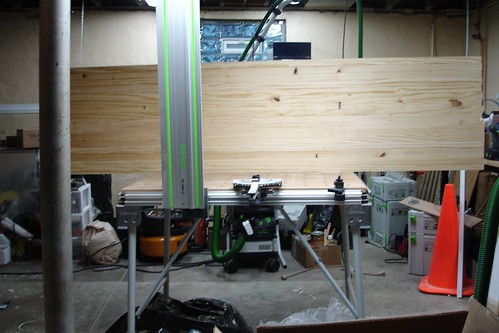
I then laminated the boards together with a slow-curing epoxy, using Dominos to help keep things lined up. I wasn’t very exact when I ripped the boards down to size, so the Dominos were a big help in keeping one surface relatively flat. Since my planer is 13" wide, and I wanted the bench top to be 24" x 48", I had to make the top in two 12" wide halves so that I could plane them down flat. The end result was a very big (and heavy) slab… 2 feet wide by 8 feet long in total (I only used half of the length for this project).
The carcass was built using Dominos to hold everything together. The only special accommodation I made was to set the front of the door and drawers back several inches, so that I would have plenty of knee room while standing in front of it. I also had to be sure to use a hinge that could handle an inset door such as this; in my case, I went for the Blum model 71B3750. I have yet to build the drawer boxes, but they will also be fairly simple, standard construction. In fact, I was so underwhelmed by the carcass construction that I didn’t take any pictures of it, so you’ll have to take my word for it.
With the carcass done and the top in place, I was able to install the plumbing. The sink was set in place in a cutout in the top, held in with adhesive caulk. I made a surround out of some scrap walnut to provide a nicer look to the sink, and also serve as a support base for the stone holder. Since there is a pretty good chance of water contacting the surround, I treated it with Clear Penetrating Epoxy Sealer before finishing. Both the surround and bench top were then finished with Epifanes marine varnish, again for water-resistance, though I didn’t go all the way to the recommended seven coats (I don’t plan on taking this thing to sea).

With the sink and top finished, I was finally ready for some sharpening! I’m still not sure where it will end up, so it’s not plumbed in yet, but a couple of buckets make it easy enough to add and drain water. One of the unexpected benefits of the lab sink is the availability of a standing waste assembly. This is nothing more than a pipe that fits snugly into the drain, raising the drain level up and letting you keep several inches of water in the sink, but still drain water when the level rises above the pipe. With water running constantly, it acts as a skimmer, helping to flush crud off the surface of the water. It also means that I don’t have to reach down into the water to open up the drain… double bonus!
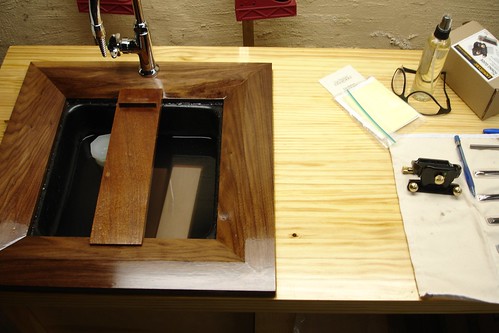

The stone holder is just another piece of scrap wood I had laying around. I cut angled rebates in the front and back so that it can drop down into the sink surround with a very slightly loose fit. A small stop of some more scrap glue to the top keeps the stone from just sliding right off, though the water tension is really more than enough to keep it in place.
I’m quite happy with the finished product, so much so that I’m already looking forward to my next round of sharpening. The drawers, once complete, will give me some much-needed storage for towels and other accessories. I’m also considering adding a foot-operated valve, so that I can turn the water on and off hands-free, but that will have to wait until it has a permanent home.