Making space
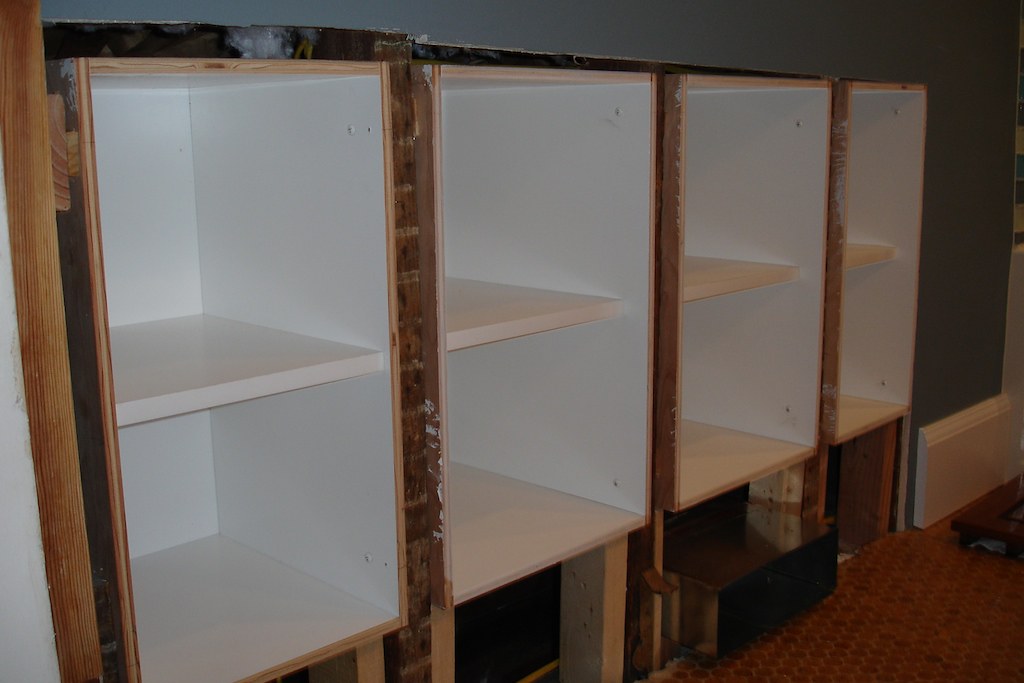
As I mentioned in the previous post, one of the sub-projects for the bathroom is to add some built-in storage. While it is still underway, I figured that it was time for an update. For the past few weeks, I’ve been building the four cabinets that will sit below the window. While they’re all similar in height and depth, they will be installed in existing stud bays which are not evenly spaced, so each one is a different width. This meant that while some of the pieces could be cut identically (the sides), everything else was unique to each of the four cabinets. In all, I had 24 pieces to be cut to 17 different sizes. Fortunately, everything went together on the first try!
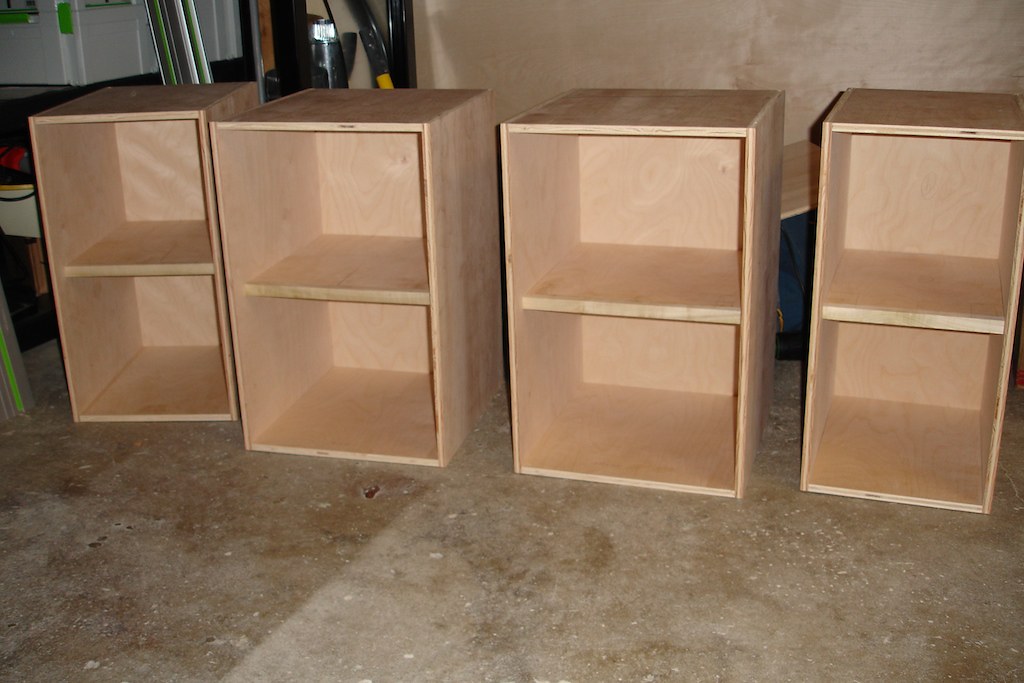
Next up was applying the finish. Since I had so many different pieces to paint, I wanted to try spraying them to speed things up. I started with one coat of primer, and followed that with two coats of the same semi-gloss latex I’ve been using for the trim elsewhere in the bathroom. After that had a chance to dry, I applied two coats of water-based polycrylic finish for strength. While I’m happy with the results for this project, I also still have a lot to learn about spraying finishes.
With everything painted and finished, it was on to installation. The first three cabinets went in without much trouble. Although my screw driver bit did slip a few times and put some dents in the finish — I learned that I should have used an acrylic paint instead of the latex, since the acrylic sets up much harder and won’t dent easily. The fourth cabinet, however, posed a number of challenges.
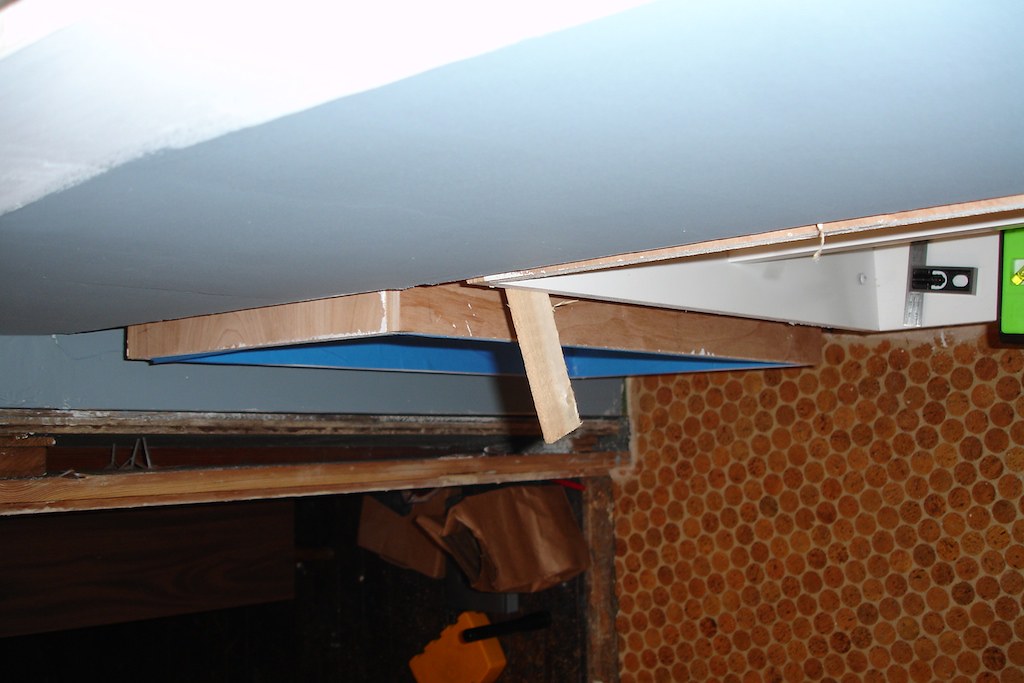
First, the space between the studs was slightly narrower than the cabinet, by no more than 1/16 of an inch. No big problem; a few passes with 50 grit paper in the sander took care of that. With the cabinet able to slide in, I tried to push it into place, but it wouldn’t go all the way back. I started looking around for the problem, and made an unpleasant discovery…

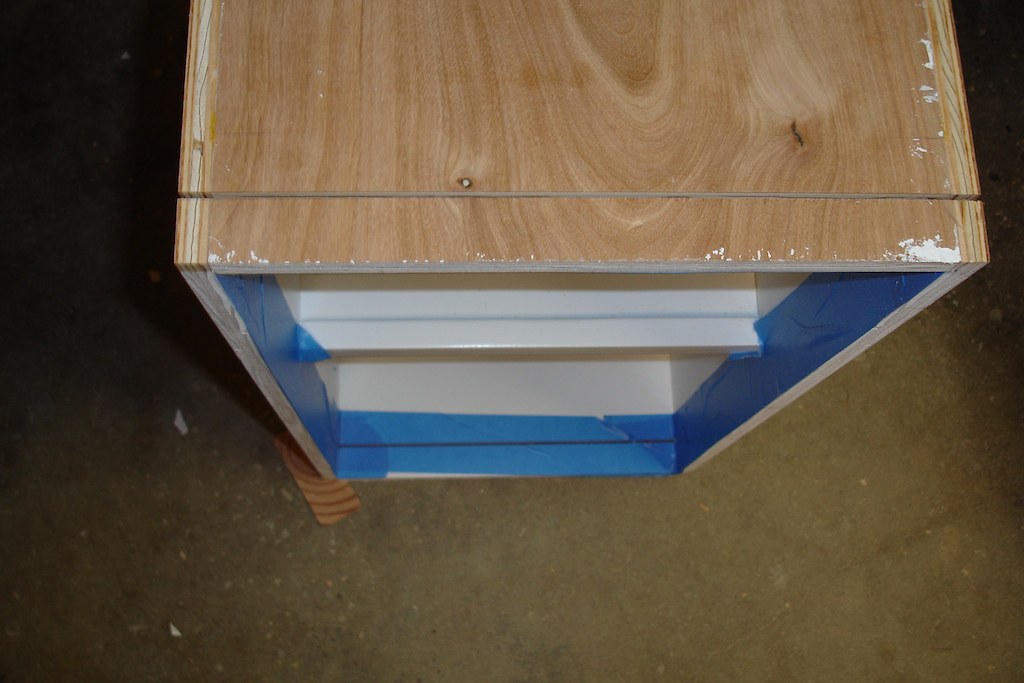
It’s tough to see clearly, but the back of the cabinet was hitting one of the roof rafters. I thought I had measured all the stud bays to make sure I’d have enough depth, but apparently not. And not wanting to cut the rafter, the only two options I had were to alter or rebuild the cabinet. Since I only needed to take about an inch of depth off, I decided to try altering it.
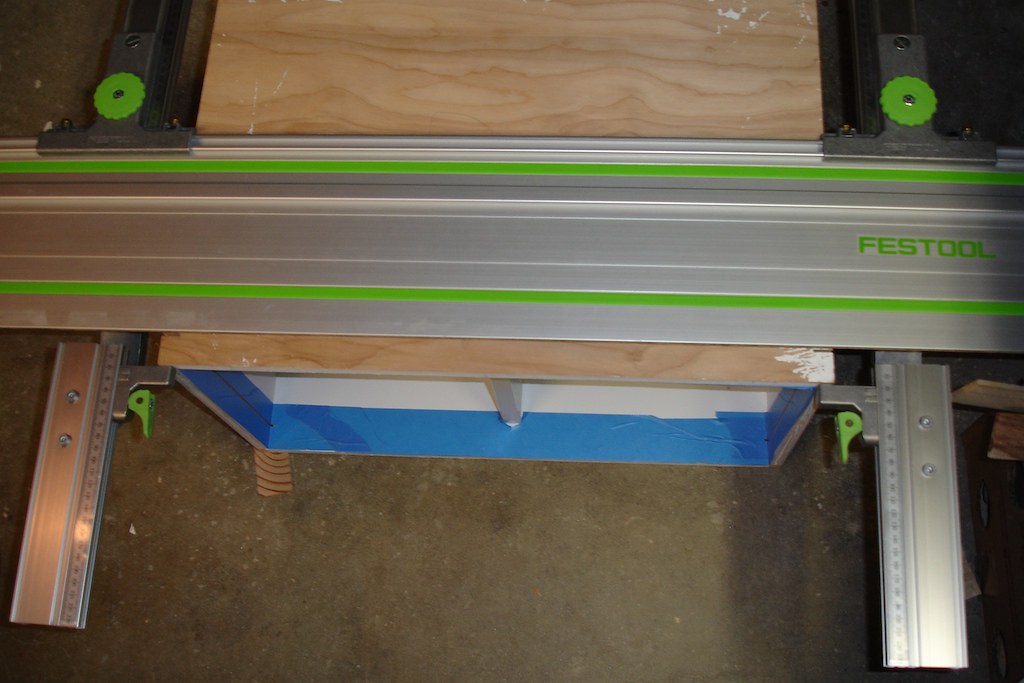
I decided to try using the parallel guides for my circular saw to make the cuts all the way around. This way, each cut would be the same distance back from the front, and I’d hopefully end up with a nice square cabinet front, like nothing had ever happened. The first step was setting the guides up at 25mm on the top and making a cut. So far, so good.

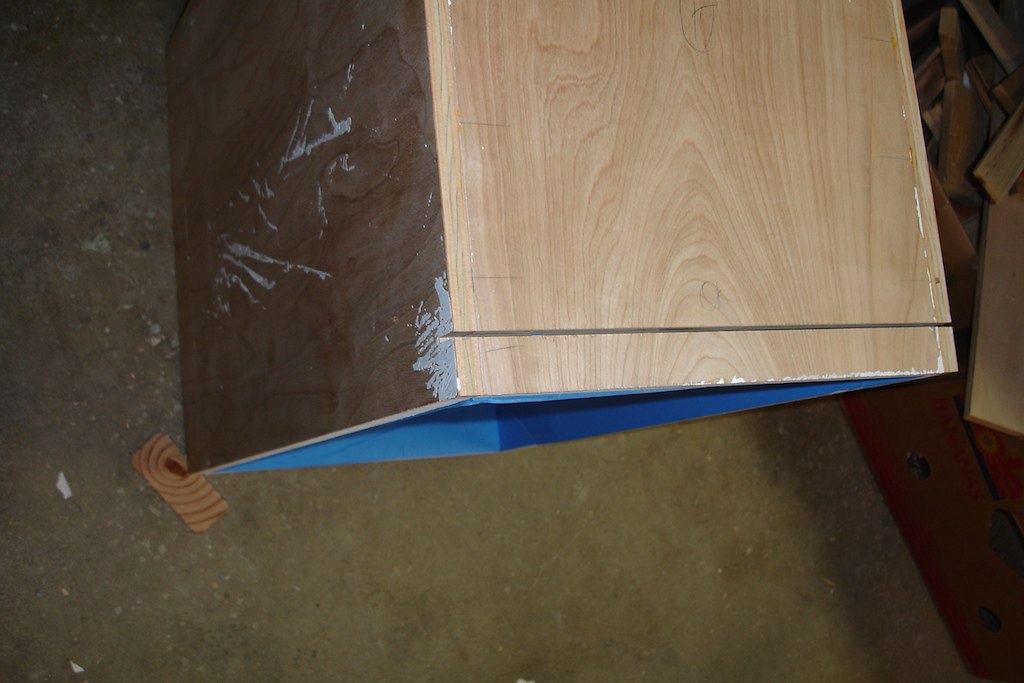
I decided to cut the bottom next, since it is the same width at the top. The fewer changes I have to make to the setup, the happier I am.
Then it was on to making the same cuts on the two sides. A quick adjustment to the space between the two guides, and it fit right into place.
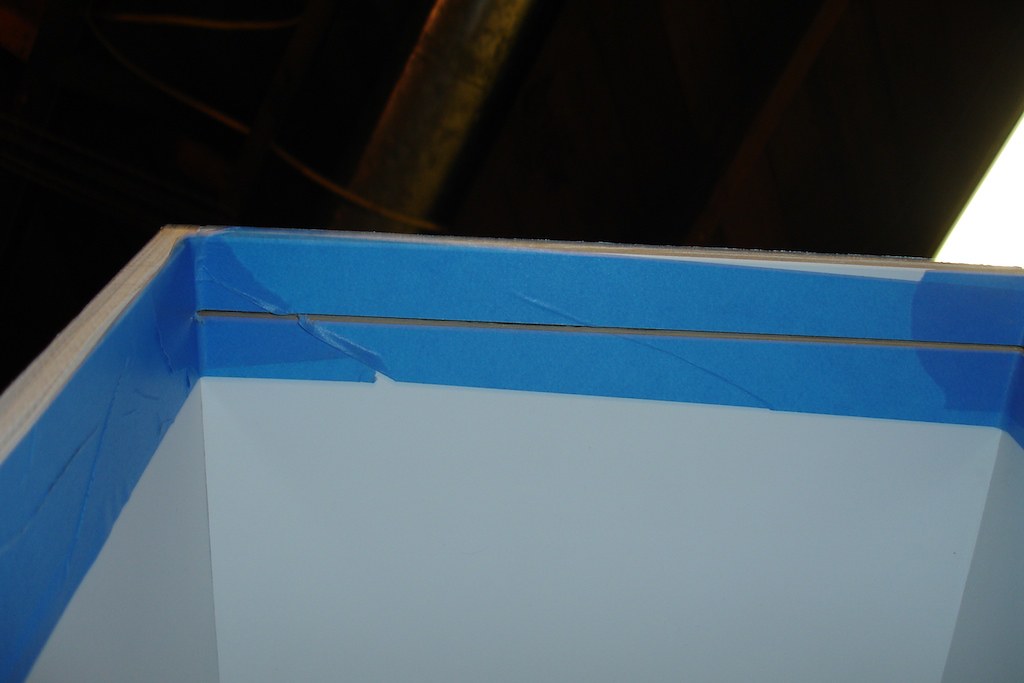
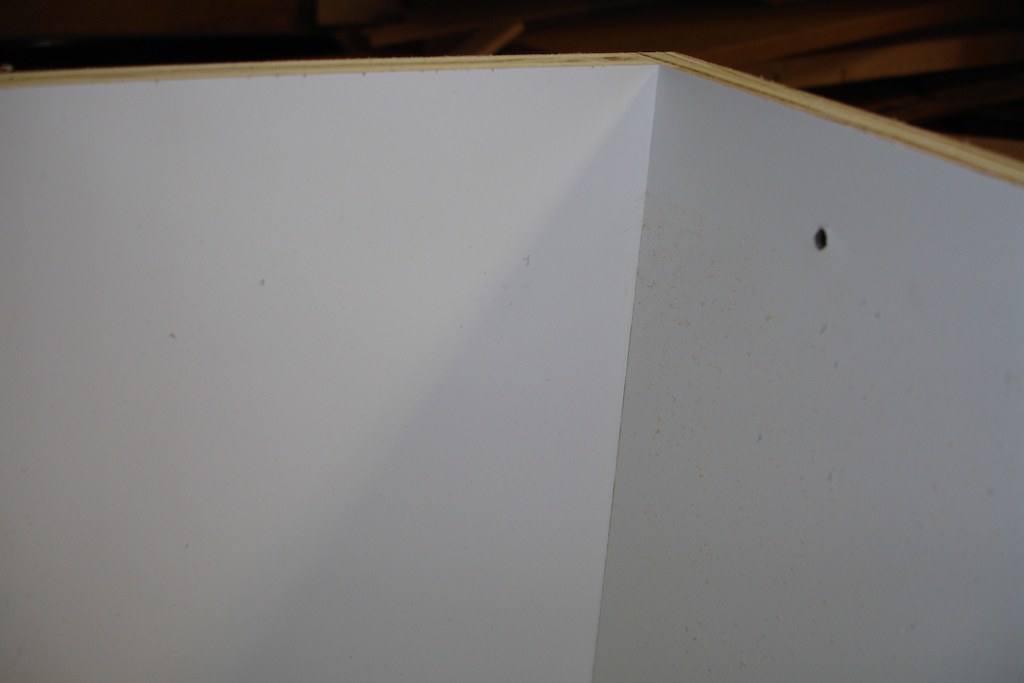
Then a quick pass with the saw, and the cabinet was trimmed back. It actually turned out perfectly on my first attempt, with no cleanup necessary. The cuts lined up at all four corners, and are just about as clean as the original edges. The parallel guides really saved me a lot of trouble here. In fact, the only evidence of any alteration is that the middle shelf now sits a little closer to the front.

With the cabinet trimmed down in size, I took it back upstairs to install it. It’s still a close fit, but at least it goes in all the way, and I can call it done!
Now that the cabinets are all in place, I’ll be able to take measurements to build the face frames and doors to cover things up and trim it out. While I had wanted to do that all before, there was no way to know for sure what the spacing between cabinets would end up being. Now that I know, I hope to get that taken care of within the next week or so.