"Functionally complete"
It’s a nice euphemism, “functionally complete,” and it really means that we’re not done yet. But at least it does mean that we can actually use the bathroom now, and have been for the past few weeks. And yes, that means that this post is long overdue. At least I’ve been busy with more exciting things, like working on the built-in cabinetry, and attending a router class at Festool (which was AWESOME). Now, though, it’s time to share the (still incomplete) results of the last few months' work…
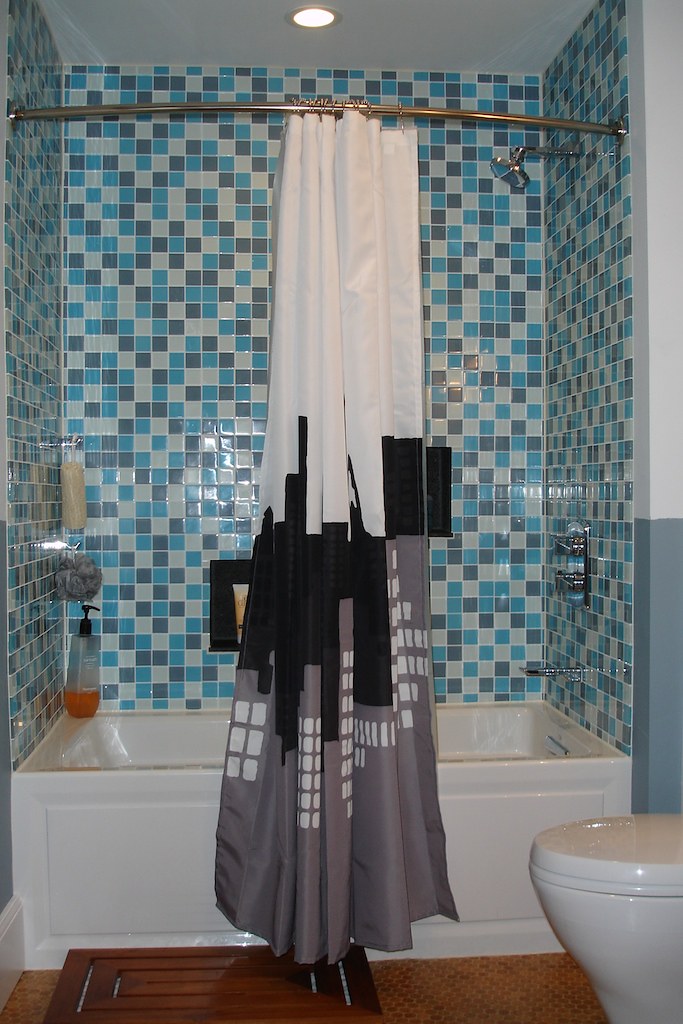
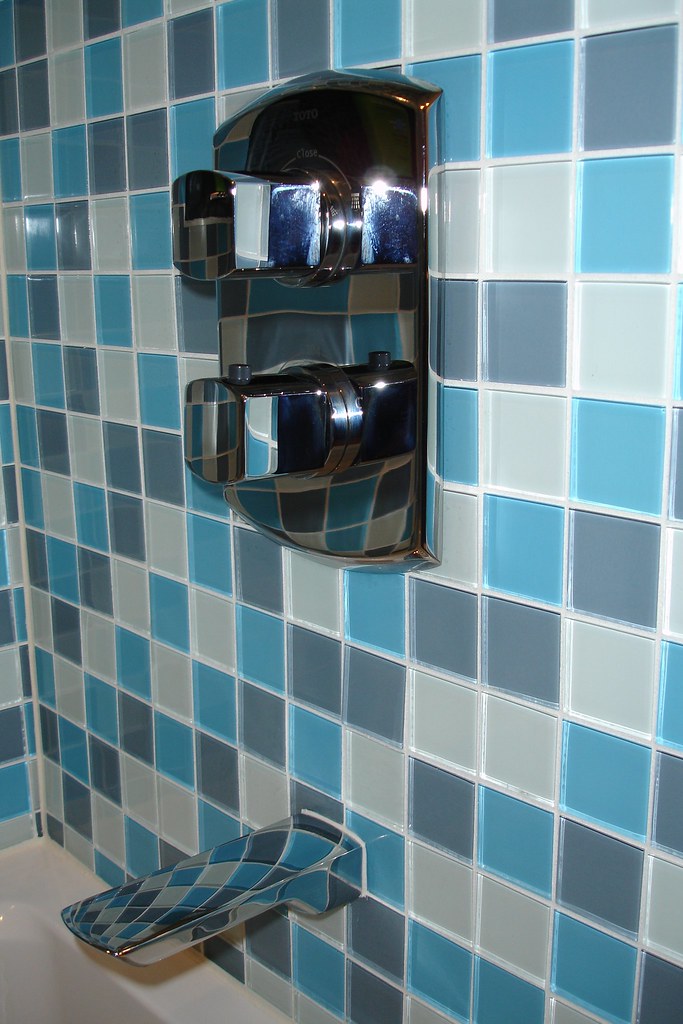
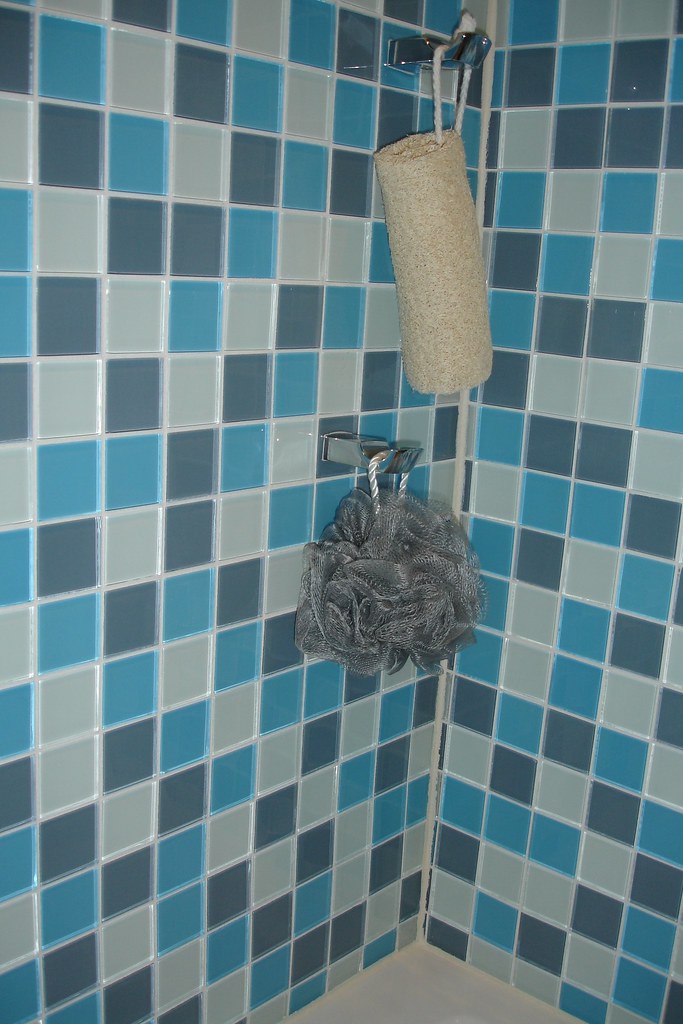
I’m quite pleased with the end result. Between the much more modern (read: roomy) tub and the curved shower curtain rod, it is much roomier when showering. And the shower fixtures look even better than I could have imagined. The only thing I’m not looking forward to is keeping all that chrome and glass clean. We also installed some hooks for hanging scrubbies, which turned out to be a great idea.

It was also great to finally be able to remove the temporary shower in the basement. And underneath the slatted outdoor flooring we’d put down to stand on, we found quite a treat…
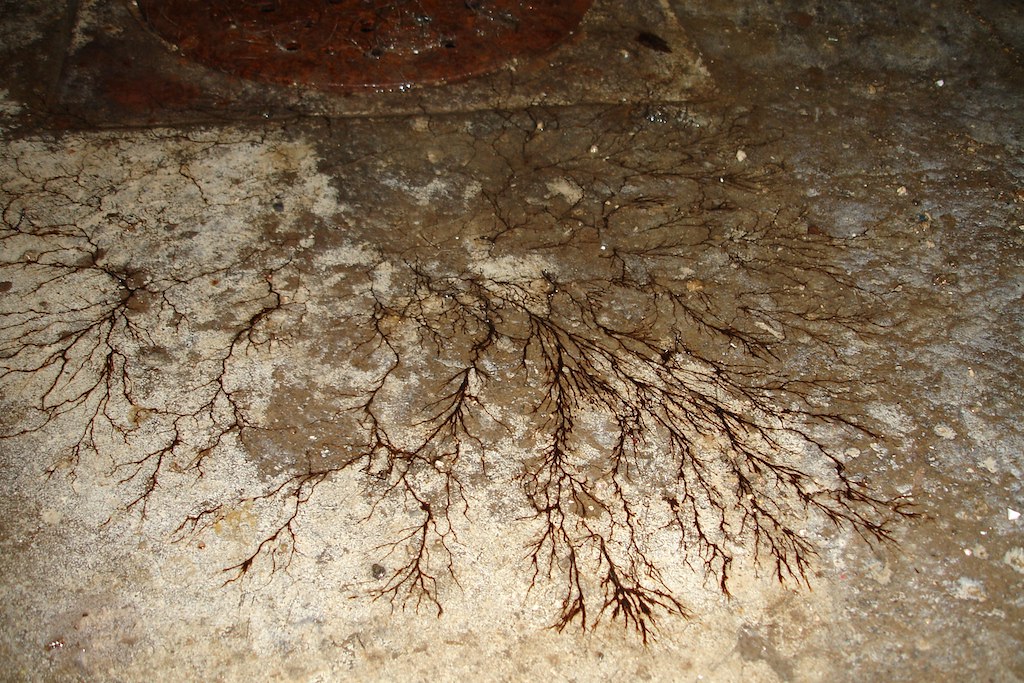
I’ve tried not to think too much about what it might have been. All I know is that a little bit of bleach took care of it in no time.
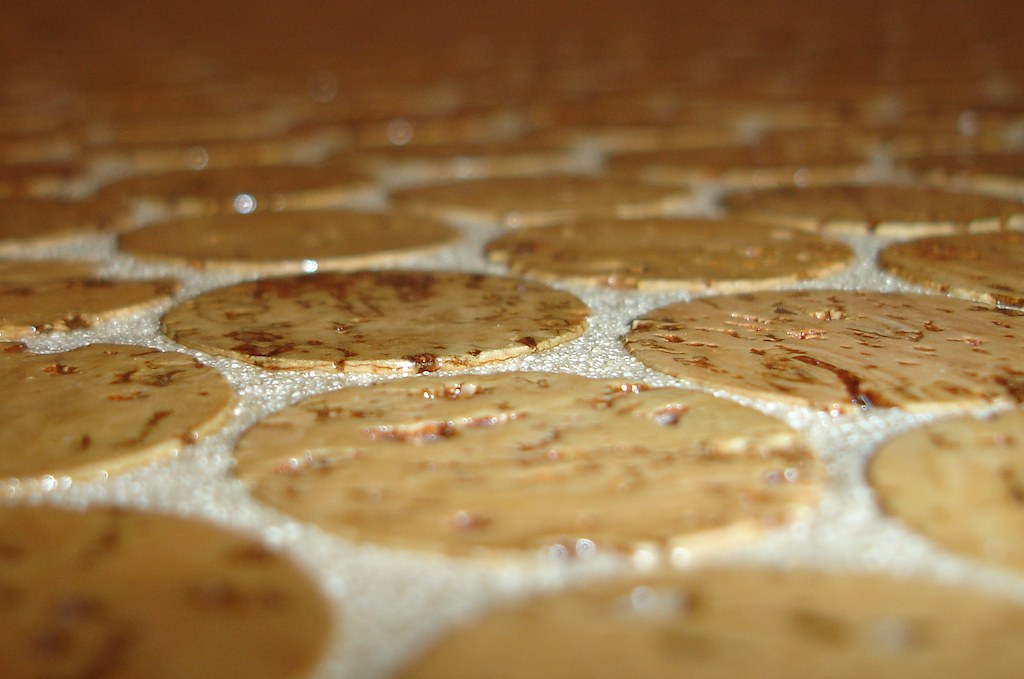
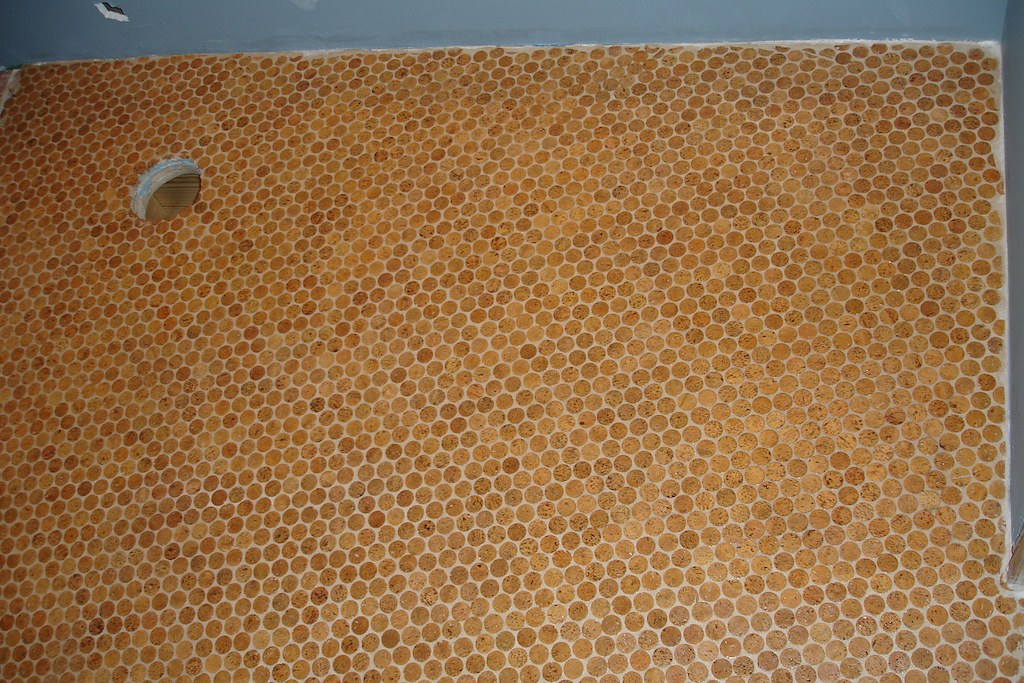
But really, that’s all skipping forward quite a bit. Before we got the shower up and running, we had more work to do on the floor. Specifically, it needed the final coats of polyurethane, both for appearance and protection. I suspect that using all of the acid to remove the excess grout must have also removed the earlier coats of poly, because the tile was thirsty.
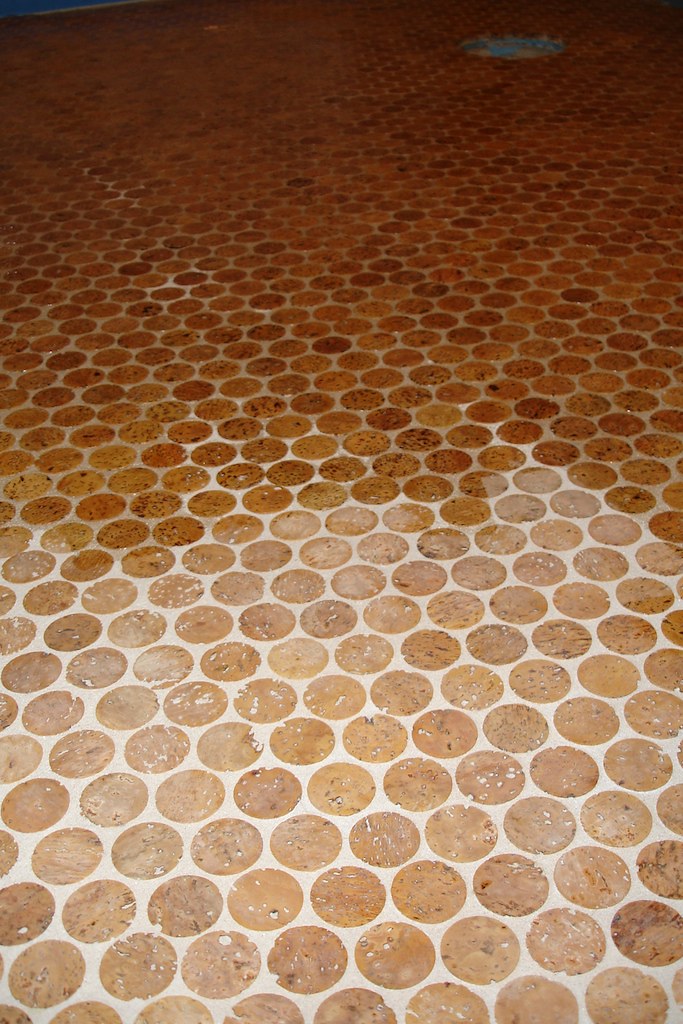
In all, we ended up with four additional coats, on top of the two we did earlier. The manufacturer only called for two coats after grouting, but that definitely wouldn’t have been enough for us. The final result, though, is a floor that’s both amazing to look at, and to stand on in bare feet. I can’t wait to get the radiant heat up and running; then it’ll be a real treat!
We also installed the pendant lights for the mirror niche, as featured in the last update. But installing them revealed another unfortunate drywall error… the cutout for the ceiling box was too big, and was poking out around the canopy of the fixtures.

I was livid for the next day; I had absolutely no desire to get back up on the ladder and do more drywall work, especially not on the ceiling. Then I had an idea… cover up the gap with some nice wood trim. And I just happen to have some pieces of oak left over from building the mirror. So I cut some strips to size, added a chamfer to one edge for interest, then cut and mitered four pieces for each fixture, to make a square. Then I glued them together in pairs to make half-squares, to make finishing a bit easier.
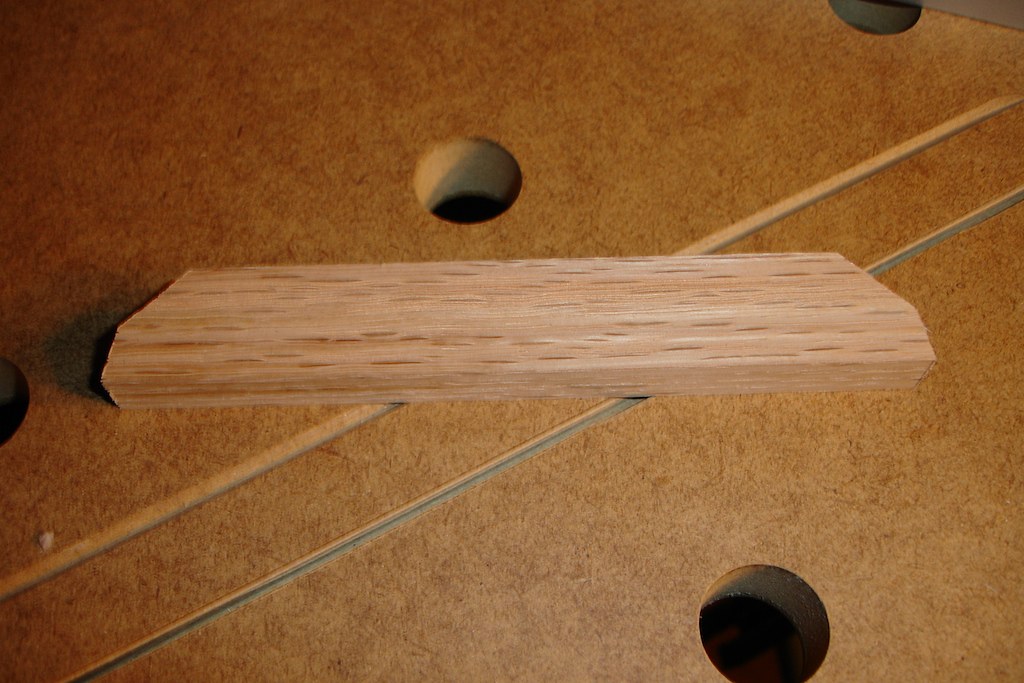
We used the same finish as on the mirror, then glued them together into complete squares. I had originally wanted to glue them up around the installed fixtures, since I didn’t want the hassle of removing and rewiring them. But I decided it was a bit too tricky to try to get the mitered corners just right up on the ceiling, so I ended up taking everything down anyway. The result was actually a really nice little detail; I’m actually quite glad we had to do it.
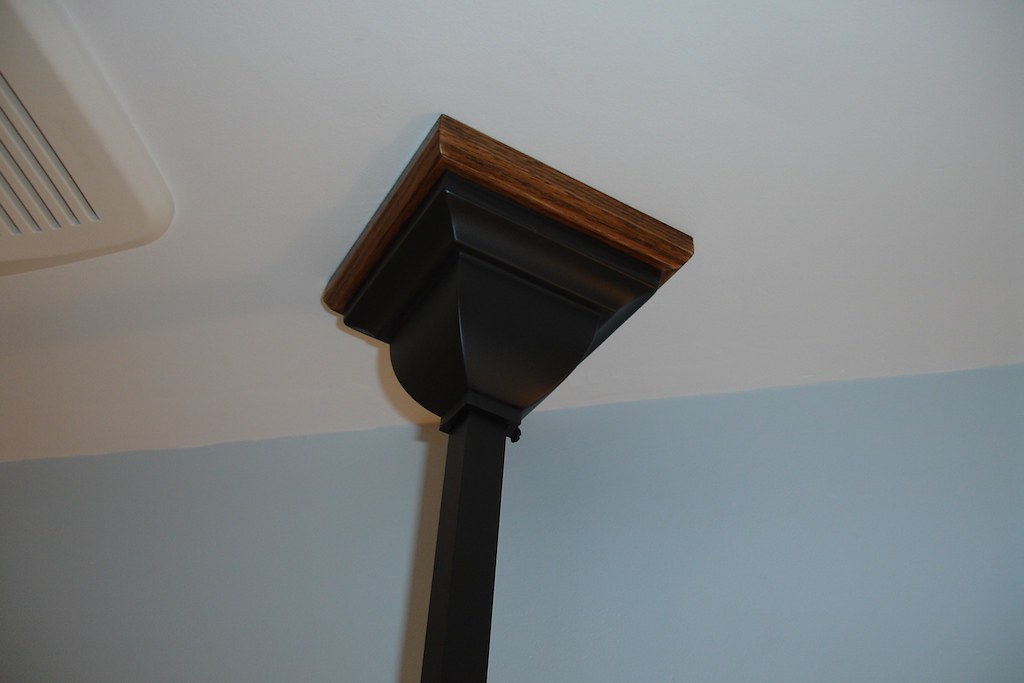
A happy accident!
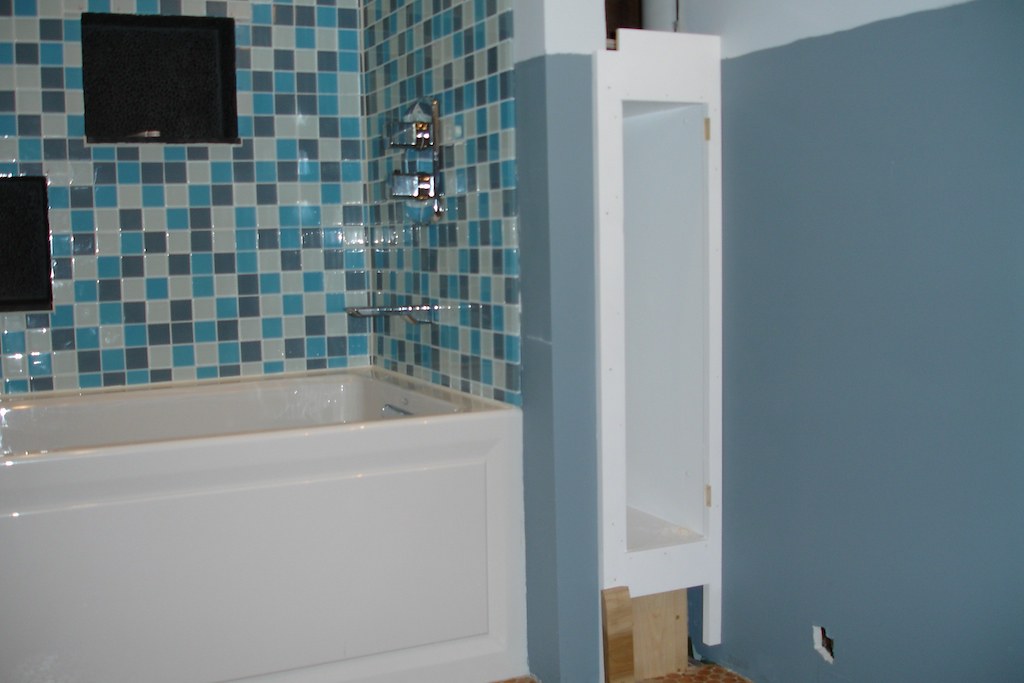
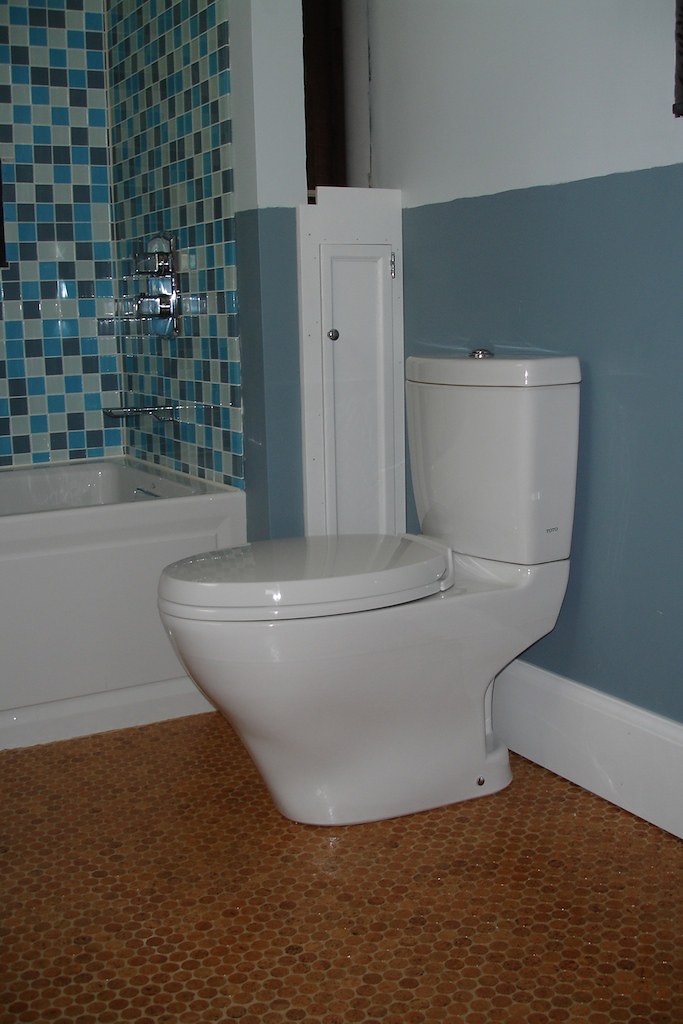
So with that and the floor done, focus turned to the toilet. Since one of the built-ins is just to the left of it, though, I had to get that installed first. There’s actually two components to that built-in, with the top portion being much more complicated than the bottom. I decided to just build the lower half for now, so we could get moving with the toilet, and worry about the rest later. I made a few mistakes on the door that will ultimately require rebuilding it, but it’s certainly not a show-stopper.
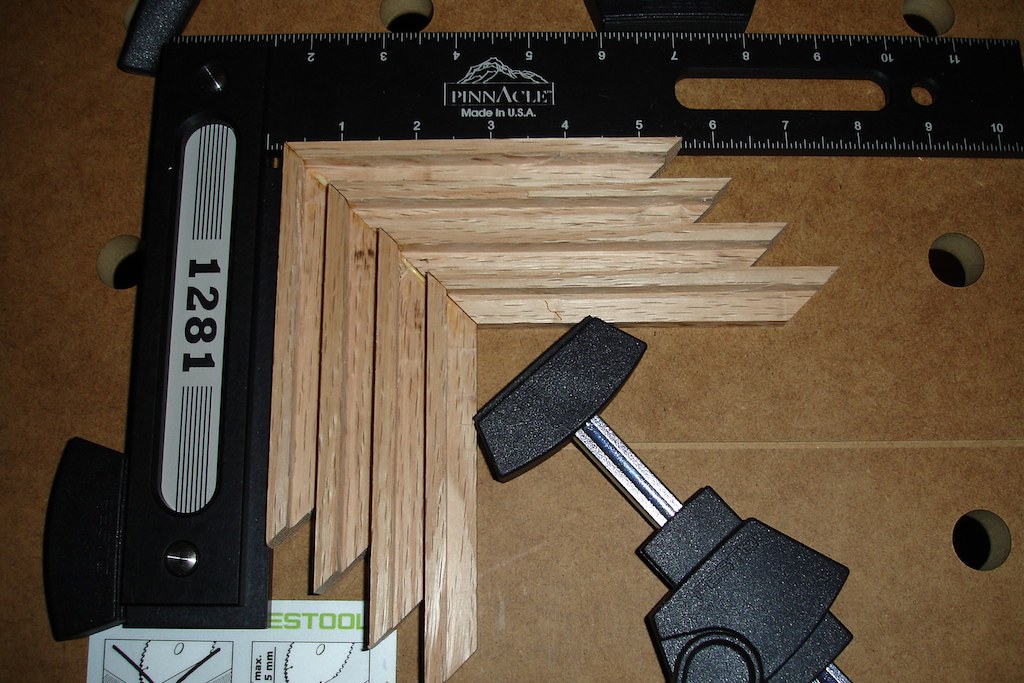
Installing that built-in also allowed us to start installing some of the baseboards. And of course, that area contains four miters within a span of around one foot. To make my life a bit easier, I decided to pre-assemble three of them, and use a coped joint for the fourth. I’m glad I did; the pre-assembly made it a lot easier to get the miters fairly tight, so there will only be a little bit of filling required. And once the baseboards were in, the toilet immediately followed.

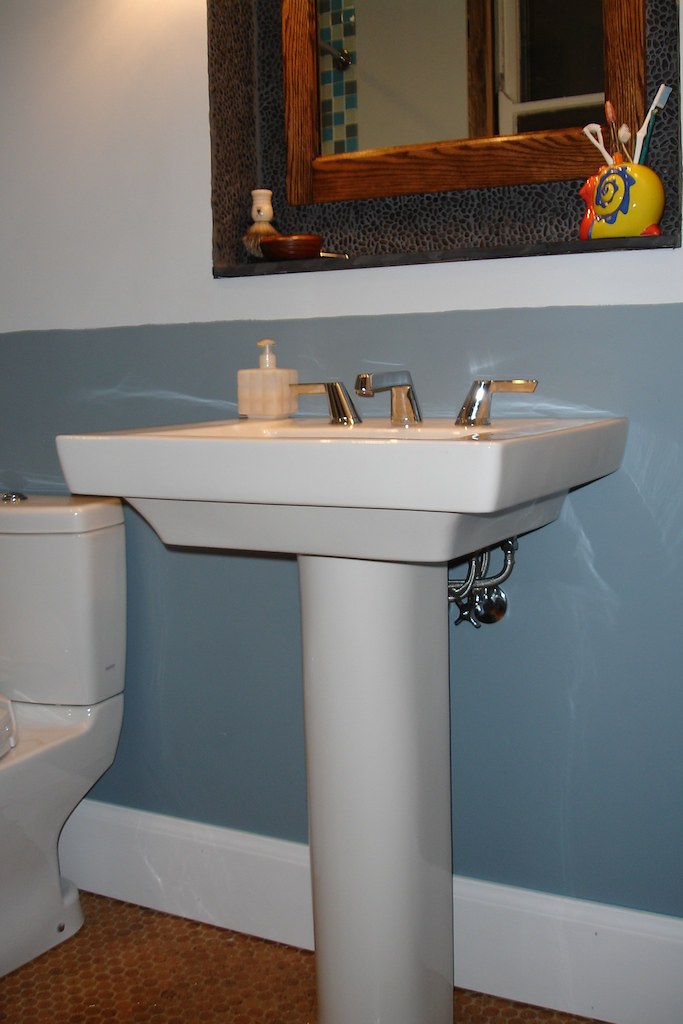
The final piece of the functionality puzzle was the lavatory (sink). For space reasons, we’d opted for a pedestal sink. I’d worked on them before, but had never installed one from scratch. They are now my sworn enemy. Even still, I’d happily pick the same sink again. As intensely frustrating as it was to work with, that is all easily offset by the pleasure and satisfaction of looking at it every day.

And that really sums up how I feel about the whole project overall (even though it’s not done yet). It’s been a ton of hard work and stress, but the end result is more than worth it. Especially now that we’re at the point where the only things remaining are mostly trim.
I need to finish off the rest of the built-ins, which is quite the project in itself. We also need to finish stripping and repainting the casework for the window and door, as well as the door itself, so that all of that can be reinstalled. And there’s some chair and base moulding that still needs to be installed. Compared to the work that’s been done so far, though, it’s a drop in the bucket.