Reflections
Over the past couple of weeks, I’ve finally had some time to actually put my (relatively) new Festools to use on some actual woodworking. Up until this point, I’ve only had the chance to use them for framing and other rough work around the bathroom. While I ultimately will be using them to make some custom built-ins, I figured that starting with something much simpler would be a good idea. And so, I decided to build a custom mirror frame.
It’s a simple enough design; I’m taking cues from some existing built-in cabinetry in the butler’s pantry that is original to the house: coped rail-and-stile construction with an ogee pattern. The wood I used was simple oak from the big box; I wanted something darker/more interesting, but since this was a first attempt, I decided to keep it simple and go with something relatively inexpensive, and easily available should I make a mistake and need more. Eventually, I’d like to rebuild it in something more “exotic”, but I’ve got too much on my plate to worry about that right now.
The finished mirror will be installed into a tiled niche behind the sink (not yet installed) using a French cleat (no tile behind the mirror itself). While I haven’t documented every step of the process, I did try to take some photos along the way…
The first step was to square up the lumber and cut the parts to length. My basement workbench is currently being used as a stripping/painting station for trim, so I improvised a workbench with a scrap piece of plywood and a kitchen cart. And to make routing easier, I left the rails together back-to-back in one board, and the stiles in another. That way, the pieces were larger and easier to handle when routing.
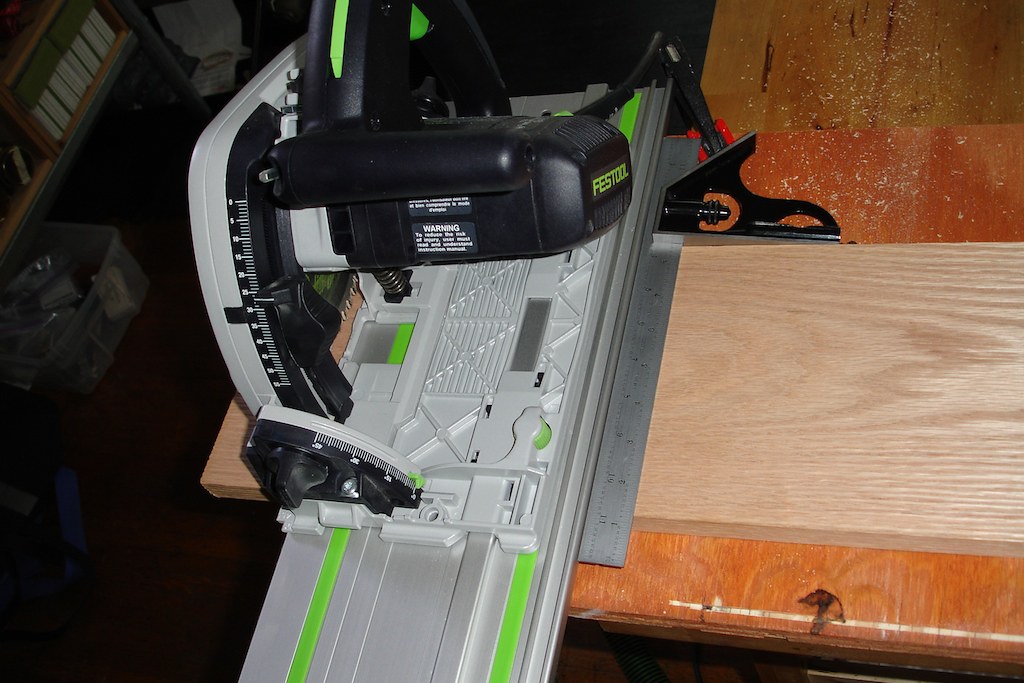
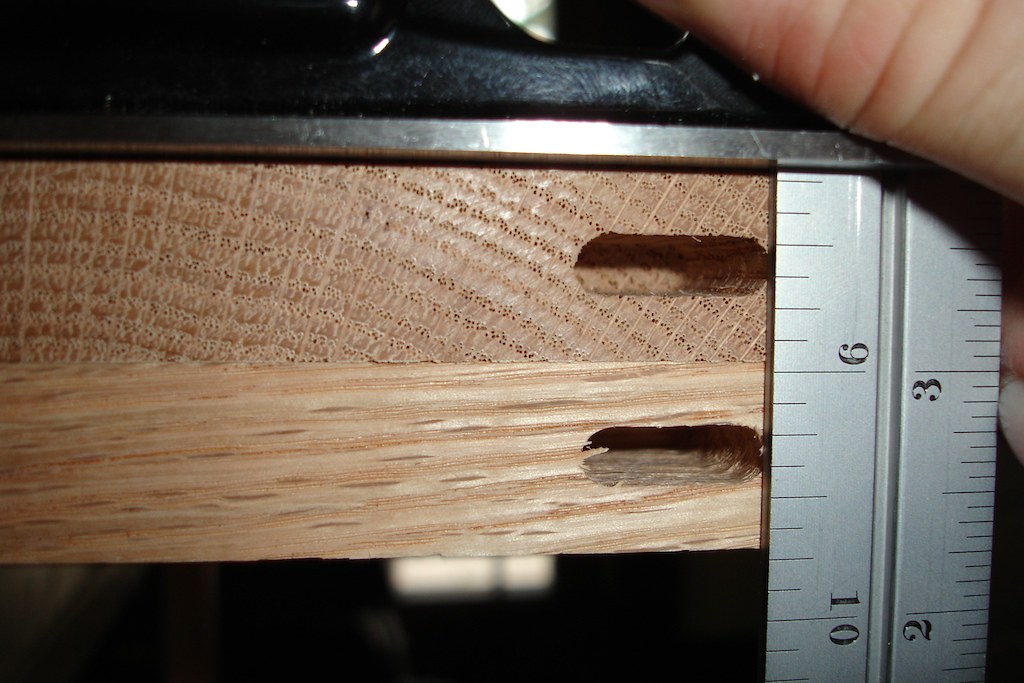
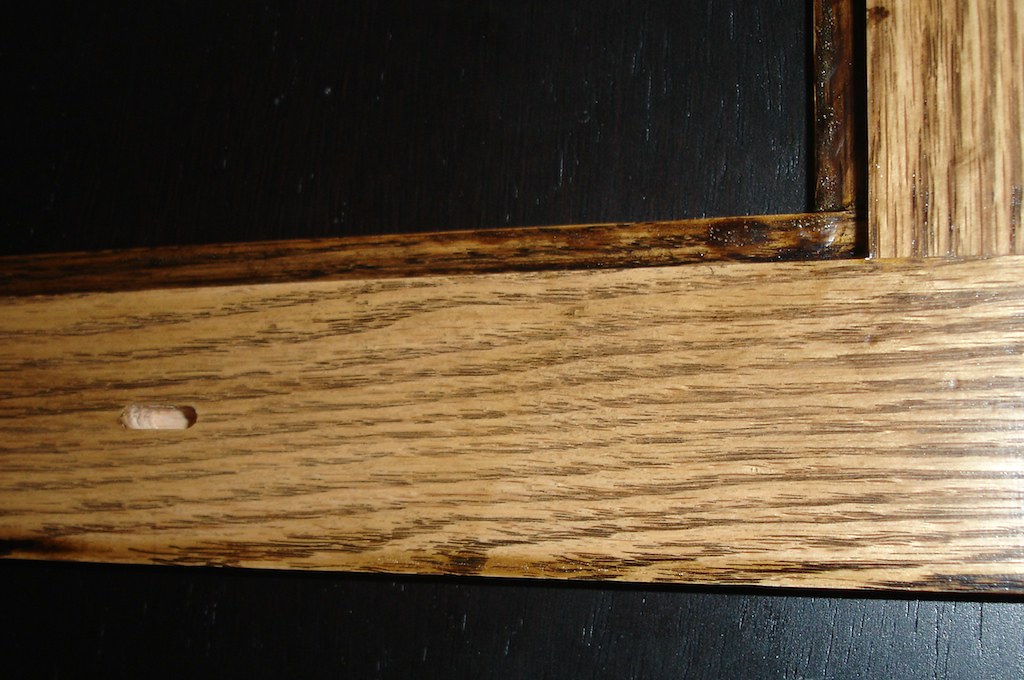
With everything cut down, it was on to cutting the mortises with the Domino. I hadn’t originally planned on buying one so soon, but after getting my hands on one at the Intro class at Festool HQ, I realized that it would make these projects a LOT simpler. It took me all of 5 minutes to cut all the mortises (2 in each corner, so 8 total), and the only reason it took that long was the less-than-ideal clamping situation of the kitchen cart. I immediately wondered why I had just spent so much money on a tool I barely used… then I realized that making traditional mortise-and-tenon joints here would have taken me a LOT longer, been less precise, and resulted in several wasted pieces from mistakes. I’m still amazed at how perfect the alignment of the Domino mortises is.

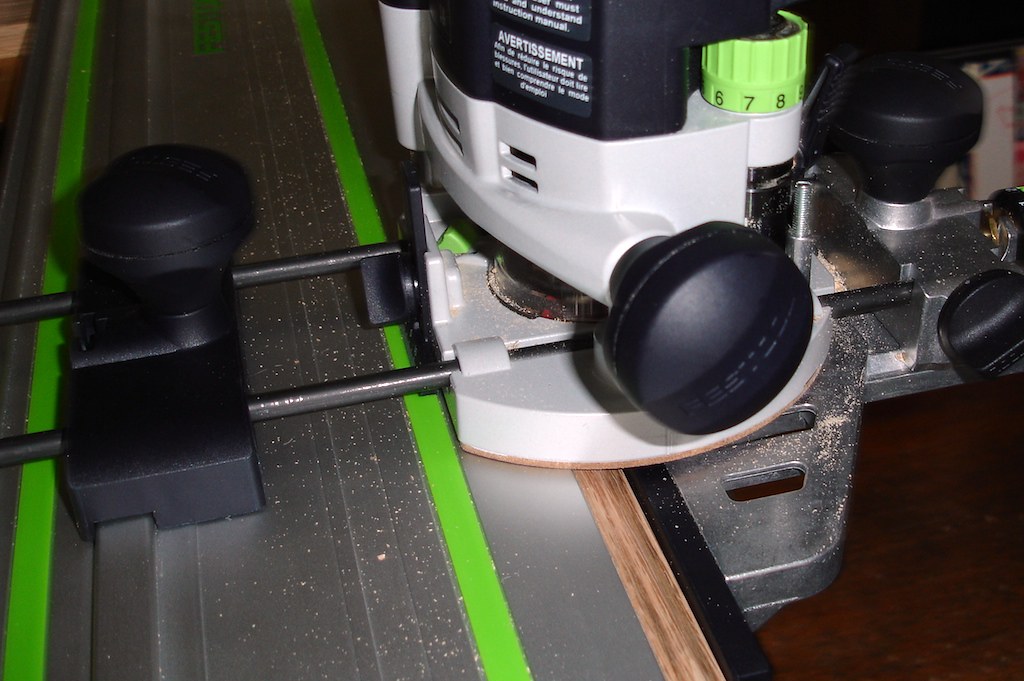
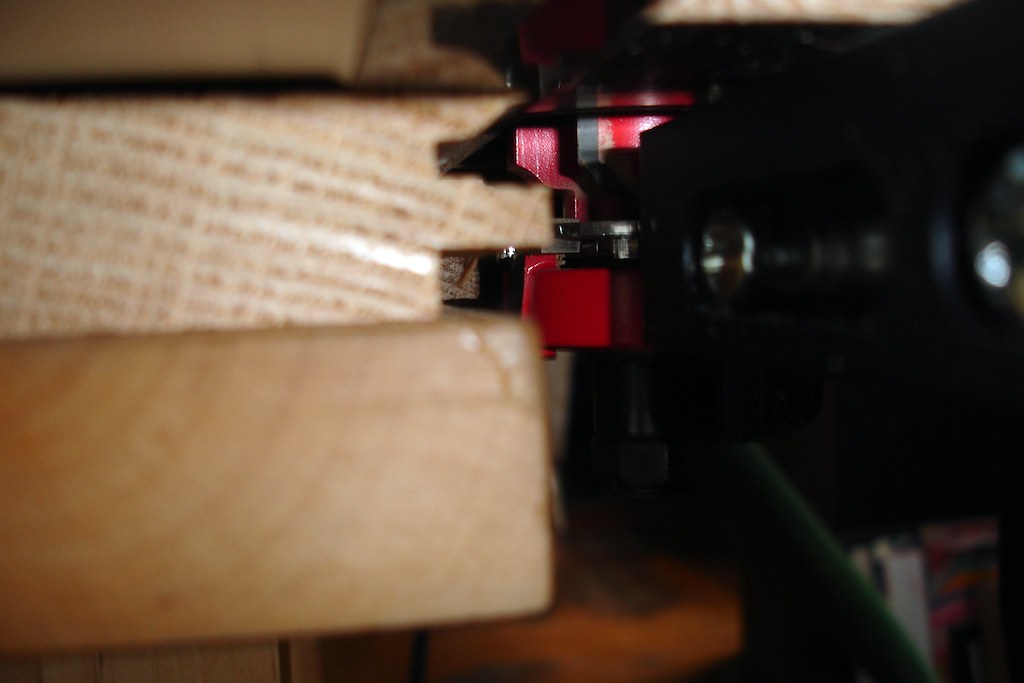
Next up was routing the profiles in all the various pieces. Since I don’t have a router table, I used another “improvised” setup… using the edge guide and guide stops for the router on a guide rail to help provide support and alignment. This actually worked out rather well, though there were still a couple of spots where the router tipped slightly and took out a little extra, but not enough to notice it unless you already know.
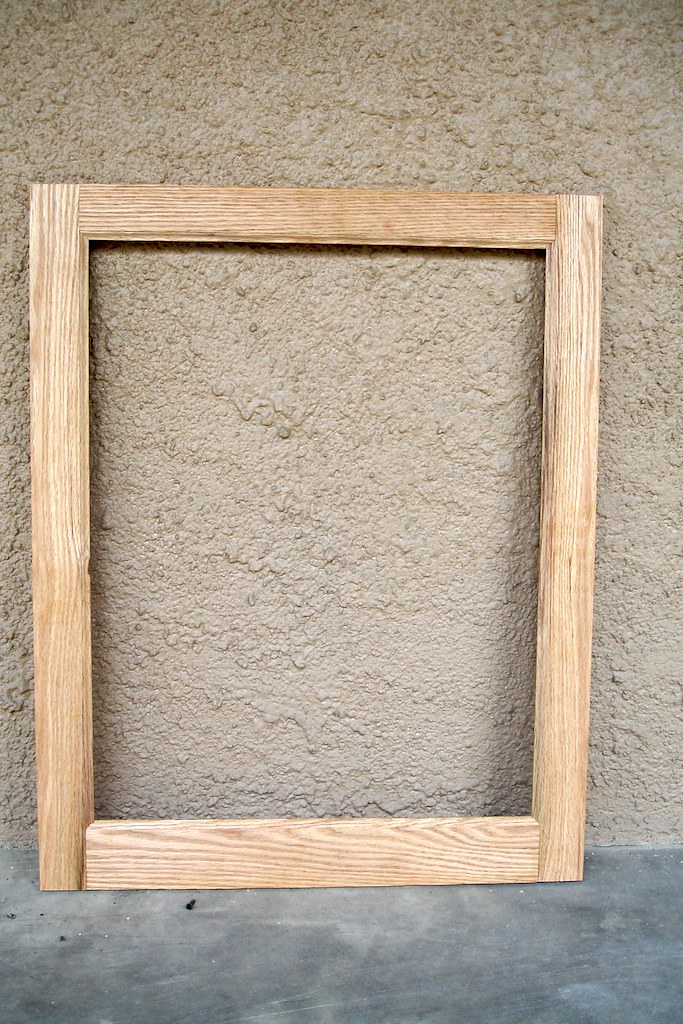
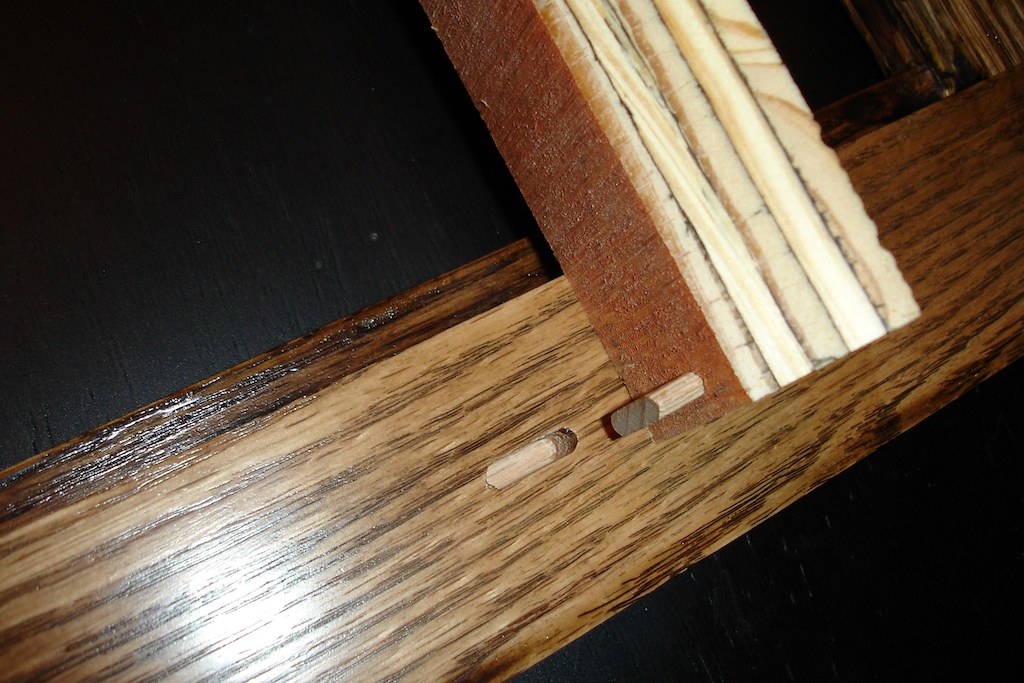
Once all the various parts were routed, I cut the individual rails and stiles out. Then a quick dry fit, followed by glue-up. I’m still amazed at how perfectly aligned the Domino joints are.

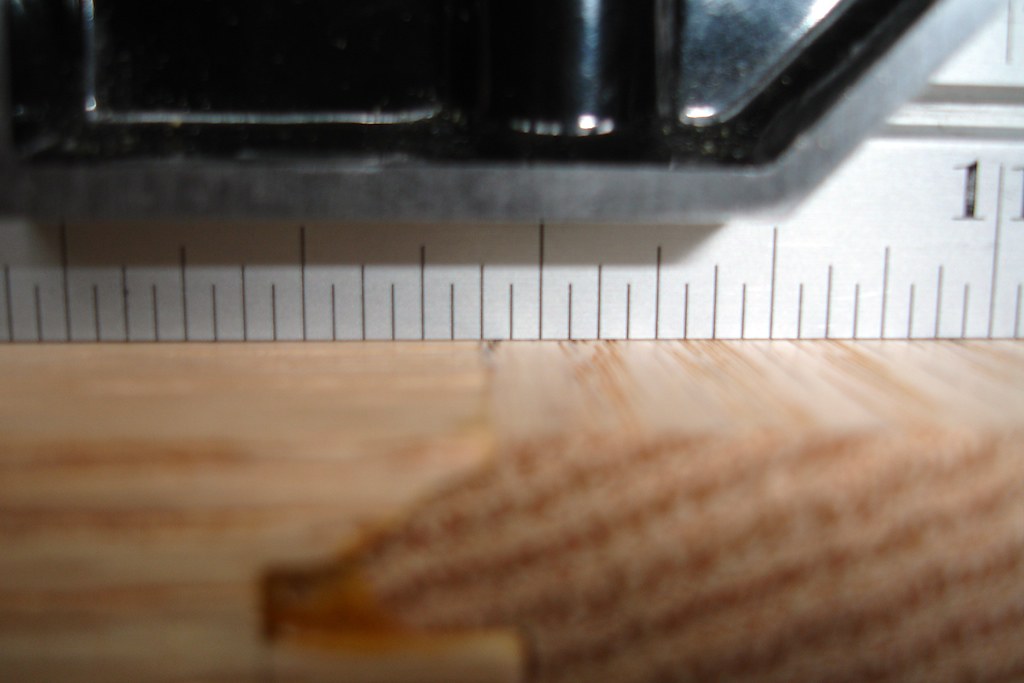
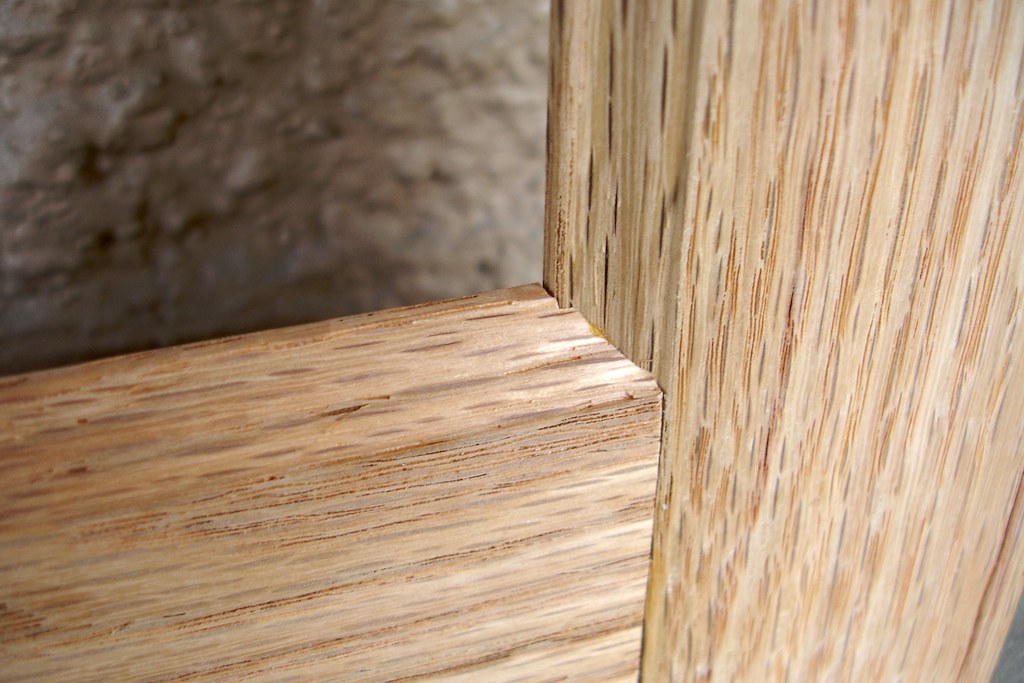
Even without finish applied, the frame looks great. And I just can’t get over those joints!
The whole project to this point took around 4 hours, and most of that time was spent fussing around with clamps. In fact, the clamping process was so frustrating to me that I went ahead and ordered an MFT/3; I’m certain it will make the cabinet project a lot easier.
As far as applying finish to the mirror frame, I didn’t take many photos (only one, in fact), but I can run through what I did. Since I used oak, I needed to fill in the pores to get things smooth. I was originally going to use the pore-filling tactic from The Wood Whisperer finishing DVD, but I also wanted to use a water-based finish on the wood, so I wasn’t sure how that would work out.
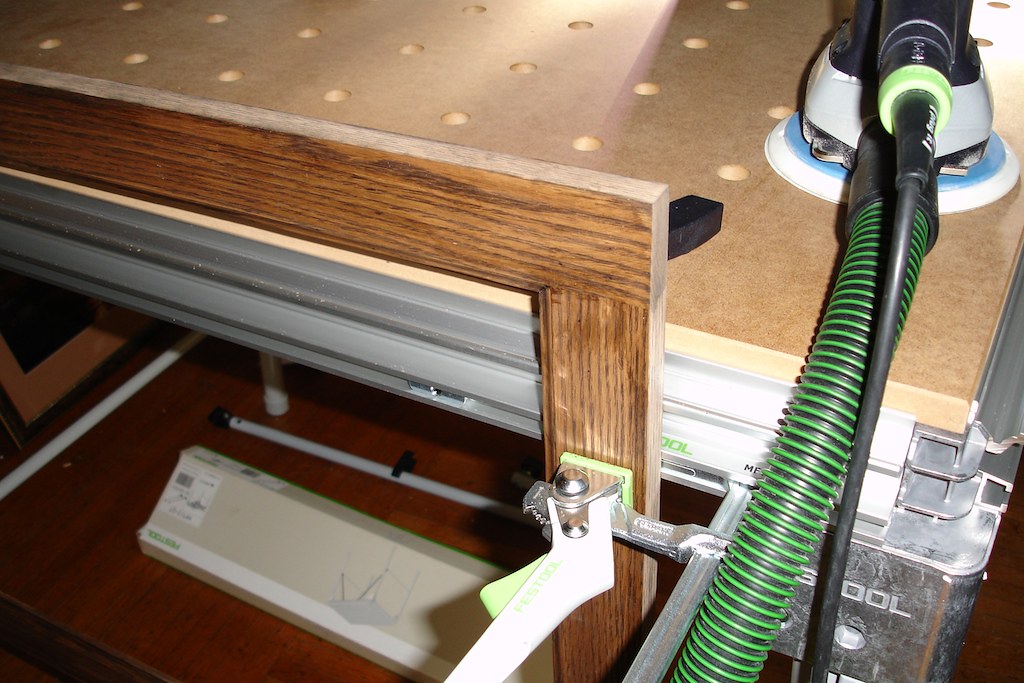
Instead, I used some thinned TimberMate wood filler, which actually worked very well. I then sanded that smooth, and applied General Finishes water-based stain in walnut. Once that was dry, I gave the piece a light sanding with 320 grit Brilliant 2 from Festool, and with the speed on the ETS 150 set to 1. At this point, I was very glad to have bought the MFT/3, since it made sanding the edges a lot easier.
For the final finish, I went with General Finishes High Performance water-based polyurethane with a satin finish. I used 4 coats total, sanding lightly by hand between each with the 320 grit Brilliant 2. I’m quite pleased with the end result.

The final step before turning it into an actual mirror was to make provisions for the cleat. I decided to use the Domino for alignment purposes, making one vertical mortise on the back of the left and right stiles, with matching mortises in the cleat. Once the mirror glass is installed, I plan on gluing the tenons in place, and adding a small screw next to it for extra strength.
To install the wall portion of the cleat, I did a dry fit of the mirror cleat, and held the whole assembly up in place. Since there’s no glass in the way yet, it was very easy to see and align everything properly. I made a reference mark, then screwed the cleat to the wall, starting at the center and working my way out. That way, I could pivot around the one screw to make sure the frame was perfectly level and aligned.

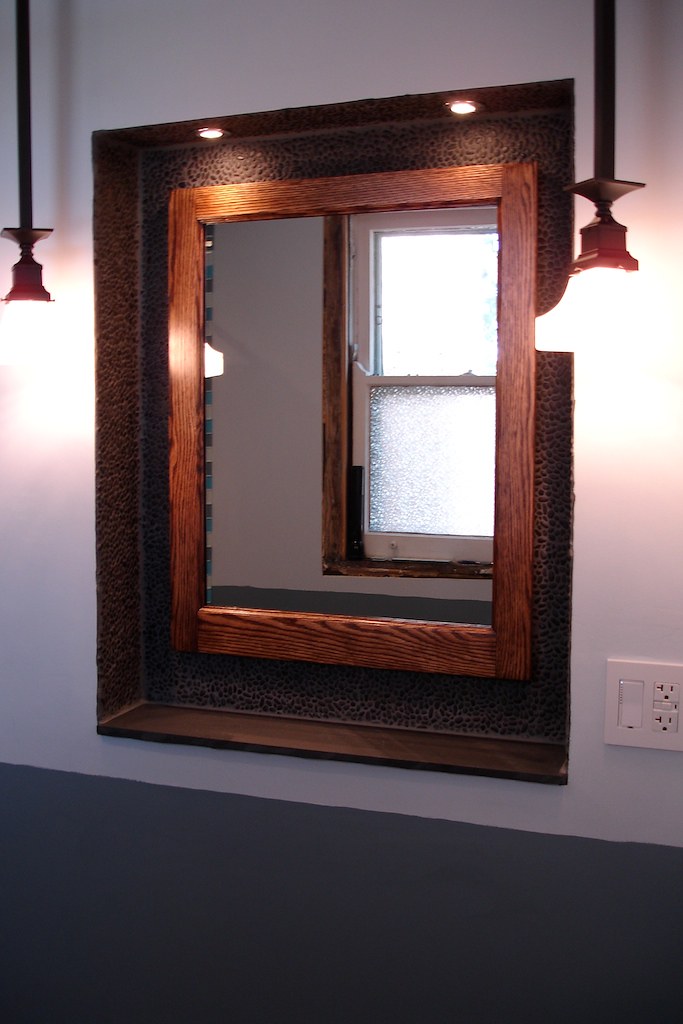
Once all of that was done, I took the finished frame into a local shop to get it fitted with the mirror. Just a couple of days later, I had a beautiful new mirror installed in the bathroom. Oh yeah, and there’s also a nice peek in there at the additional lighting that’s been installed (more on that later).
In the end, the total cost for the mirror was around $65, plus maybe 6 hours of my time. The pre-made mirrors that I had been looking at were in the $200-500 range. While it definitely cost me a lot more than that in tools, I’ll have them around for a long time to come, and can make a lot more than just a mirror!
And as a side note, this was originally posted over on the Festool Owner’s Group (FOG) forum. While I made a few quick edits to the introduction, most of it is the same as the original post, so there’s lots of references to Festool products. I don’t have any interest in Festool, other than having spent boatloads of money on their tools.