Starting to finish
With all of the drywall pieces in place on Monday, we were able to spend the rest of this week focusing on the floor (and a little on the shower, too). Tuesday marked the installation of the cement board for the floor. While it is normally a very straightforward process, we had one teensy little obstacle: the radiant tubing. The cement board is secured with screws, and we obviously don’t want those going through the radiant heat tubing, so we had to devise some way to make sure to avoid it. After considering how I would transfer markings to the top side of the board to show where the tubing is, I came up with a much better idea…
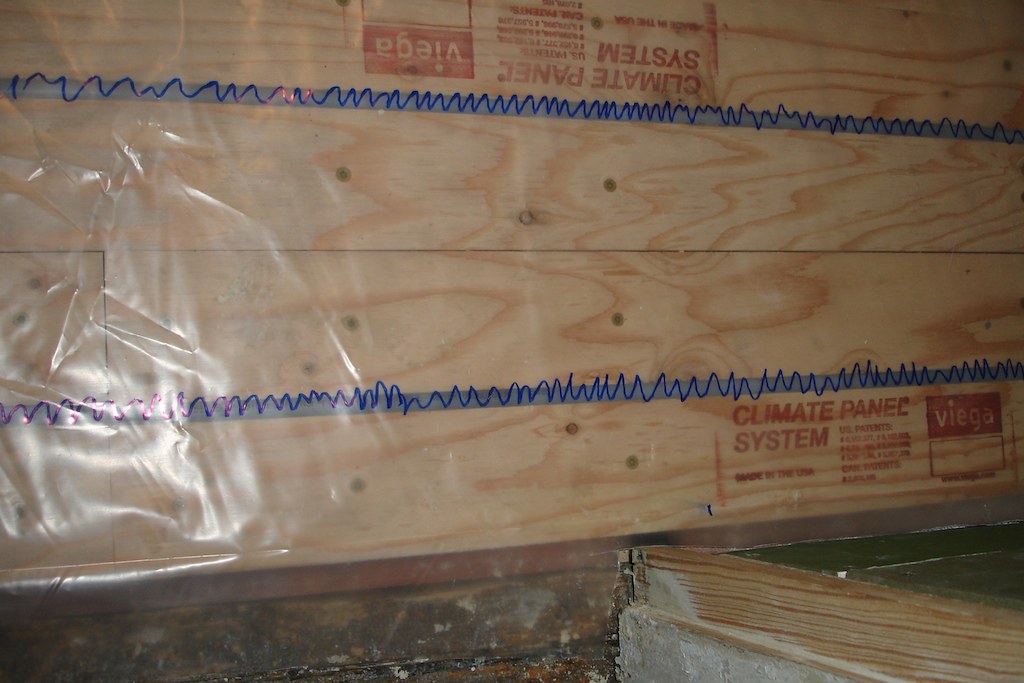
I cut a piece of plastic sheeting to fit the outline of the floor, and traced the tubing layout onto it. That way, we can set it back down over top of floor at any time down the road and see where the tubing is. I also wanted to check into securing the pedestal sink to the floor, to make sure it would work out. And what better way than doing a dry fit/sneak peek.

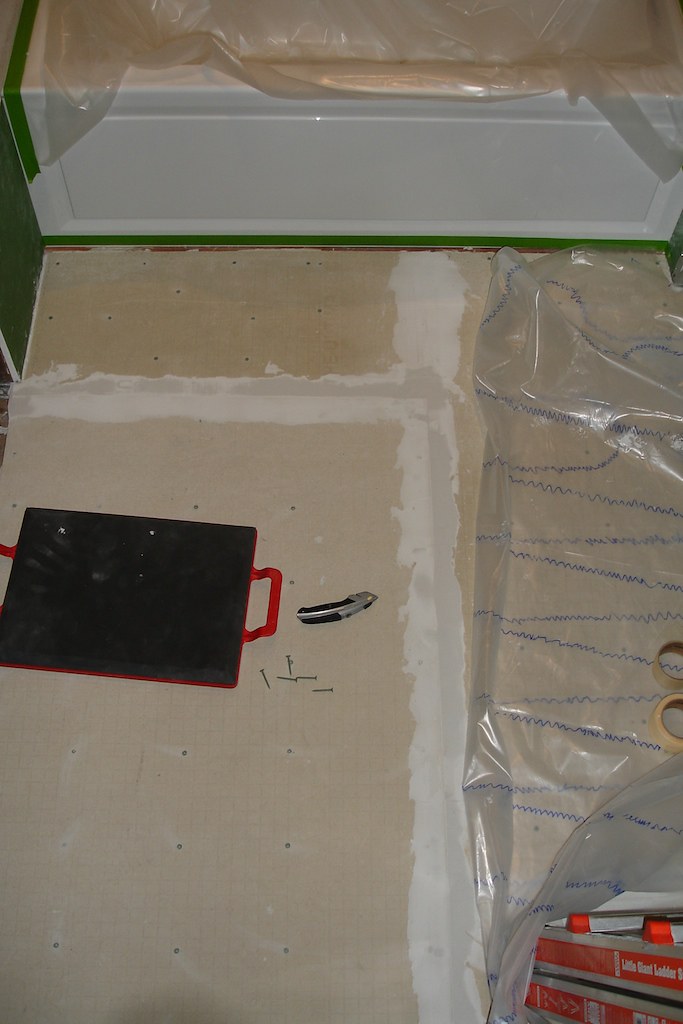
So with the planning out of the way, we set about the rather uneventful business of installing the cement board. There was a little bit of extra work involved, making channels for the floor temperature sensor wiring, but nothing too spectacular.
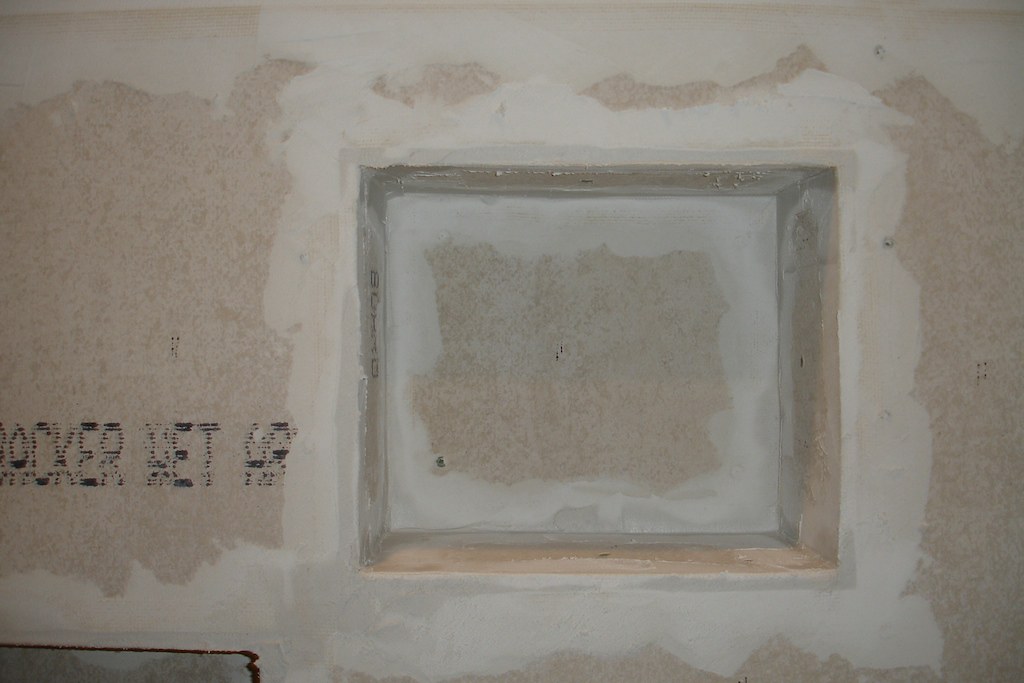
With the mortar already mixed up from installing the cement board, I spent the time taping all of the joints and seams in the shower area. The standard seams weren’t too bad, and went quickly enough once I got the hang of it. But the niches were a real treat. Every joint, seam, gap, etc. had to be taped and mudded to make things secure. And all while working in a very confined box with poor visibility. Fun! However, the end result was definitely worth the effort.

With all of the mortared joints set by Thursday morning, we moved on to waterproofing the cement board. Another simple, if not tedious, operation. It started out with pre-treating all of the corners in the shower area, and I went a step further and also pre-treated the seams.

From there, it’s just two full coats with a roller. MUCH easier. And the same treatment for the floor, as well. That whole process created a nice waterproof membrane on top of the cement board, so that if any water ever makes its way through the tile or grout, it won’t damage the wood structure on the other side. Cheap insurance, in my book.
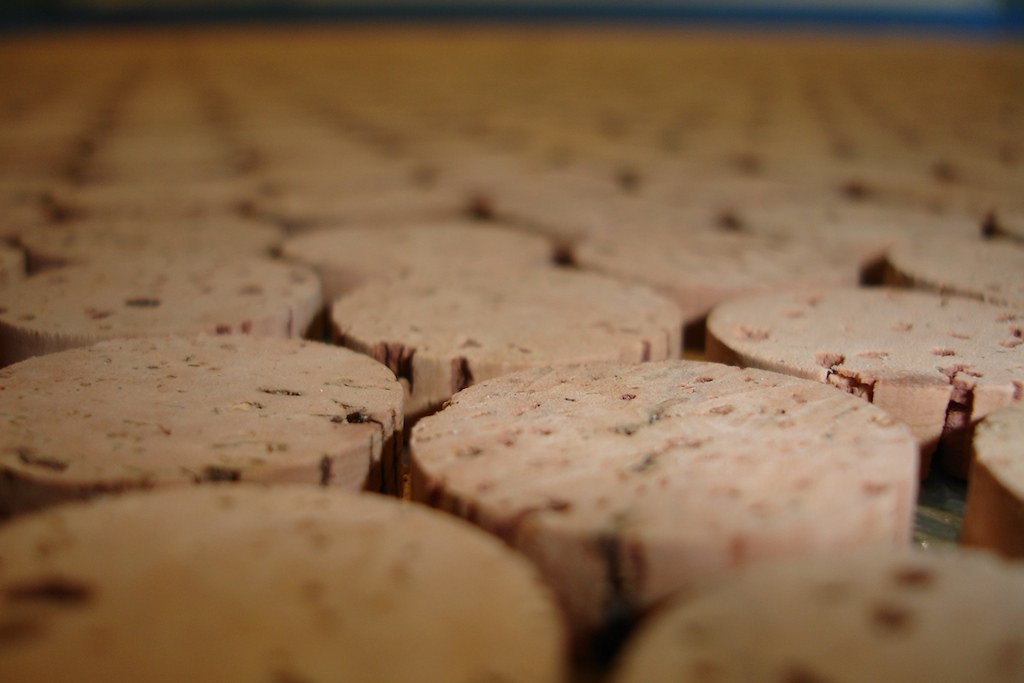
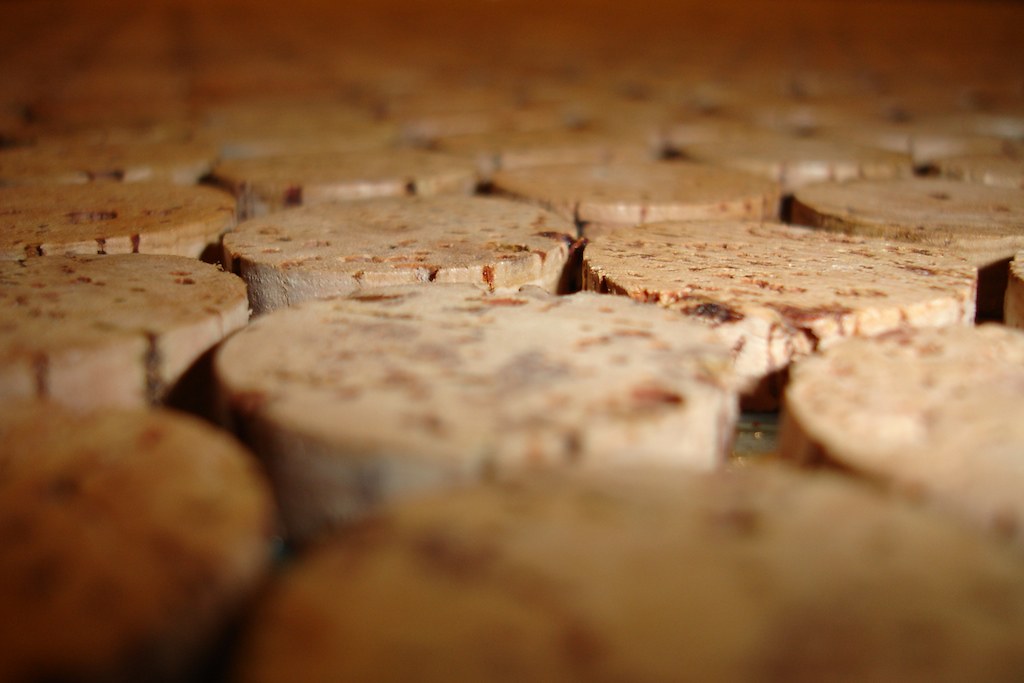
In an effort to keep the momentum going, and since the wateproofing had dried enough by yesterday evening, we started with tiling the floor. That’s right, the first piece of finish is starting to go in! We’re using a cork mosaic tile for the flooring, so there were lots of little modifications to be made to get the edges to fit right. After lots of test fitting, swearing, and gluing, we finished up with the tile portion of the installation around 5:30 this morning. A long night, but completely worth it.
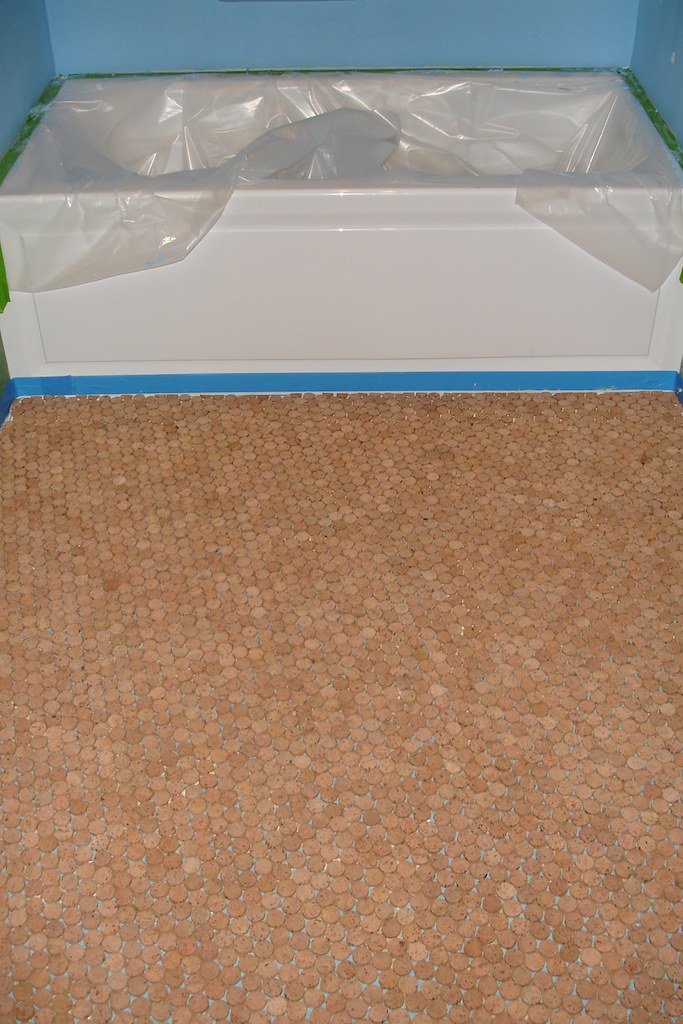
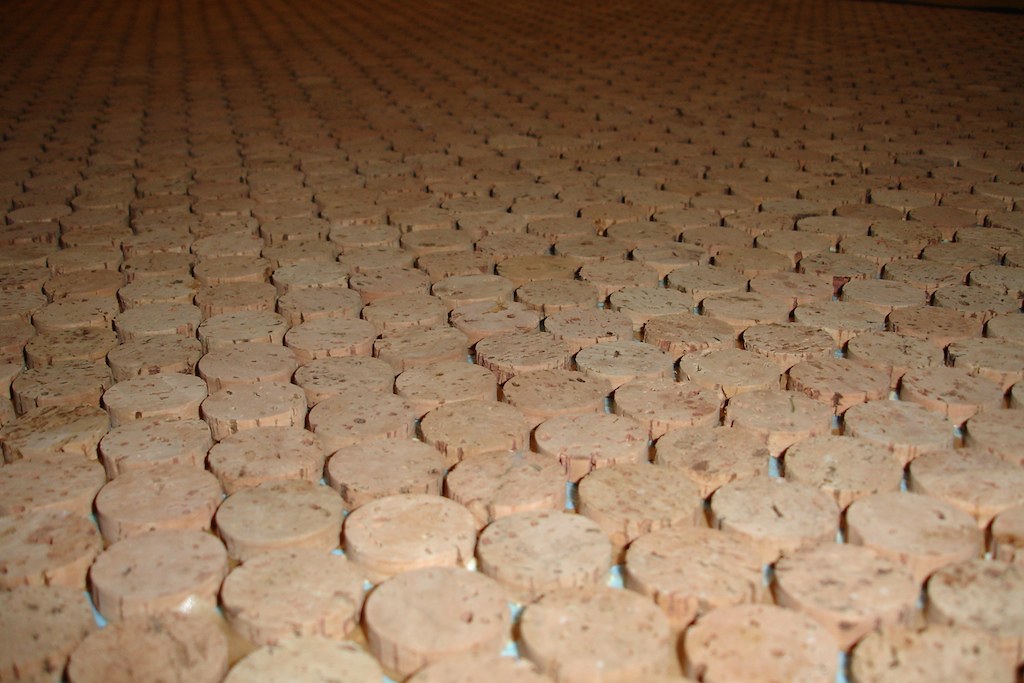
And now that the adhesive has had a chance to set, we’ve started the process of sealing and grouting. The manufacturer calls for two coats of polyurethane, then grout, then another two coats of polyurethane. We’ve only done the first coat of poly so far, but you can already see the tile coming to life.
Before (left) and Not before (not left)
I can’t wait to get grout in to really see it pop. The cork is so pleasantly soft that walking on it barefoot is already nice, even with the discomfort from the gaps between tiles. Getting the floor finished is the main goal for this weekend, and it won’t be a problem at all. Then it’s on to finishing the drywall, but that much fun will have to wait until Monday.